Honeywell Hyperion 1300g Scanner
- Robin Rodrigue
- Nora Kinal
| Overview | |
|---|---|
The Hyperion™ 1300g linear-imaging barcode scanner is ideal for scan-intensive and light industrial applications. It features an ideal balance of performance, ergonomics and best-in-class durability (as in tough-enough-to-hammer-nails durable). For years of hassle-free, getting-the-job-done performance, the Hyperion 1300g scanner is the one. The 1300g scanner is fast and intuitive to use. Even better, it eliminates the need to buy specialty scanners. That’s because the 1300g scanner lets you read 13 mil barcodes out to 45.7 cm (18 in) and high-density barcodes as small as 3 mil. And with no moving parts to wear out, the Hyperion 1300g scanner is one of the toughest general duty scanners on the market – so tough, in fact, you can hammer nails with it! Honeywell ™ | 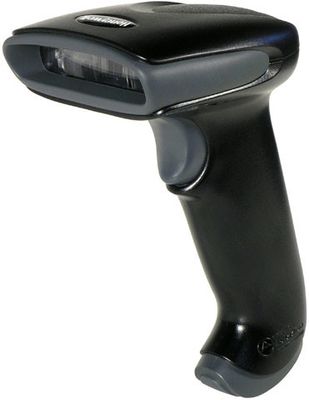 |
Installation & Setup
Notes
- Drivers should be installed on the machine using the device.
- If you have other scanning devices connected, unplug them all. Be sure to note which USB ports other scanning devices are connected as they have already been established in Serving Line setup.
- If you have any issues with the barcode, please refer to the User's Guide.
Download and Install the Driver
Administrator rights are required to install the device driver. If you do not have administrative rights to the computer(s) you are installing the device, contact Central Office support or your IT department.
- Access the Honeywell website for the Hyperion 1300g Light Industrial Scanner.
- Scroll to the bottom of the screen and select Downloads.

Click the link (https://hsmftp.honeywell.com/) to access the Technical Support Downloads Portal. If you do not already have a Honeywell account, you will need to create one.
- Double-click the .msi file in your Downloads folder to start the installation process.
- Click Next to begin the download process.

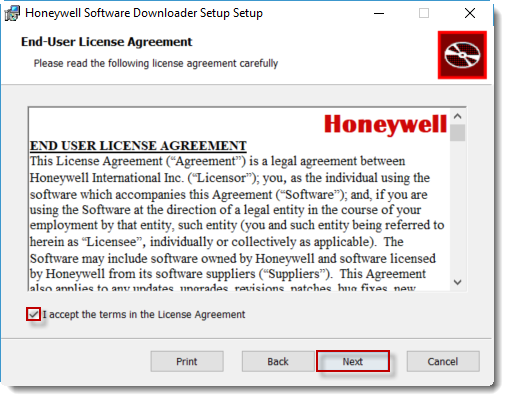
- Read and accept the terms in the License Agreement. Then, click Next.
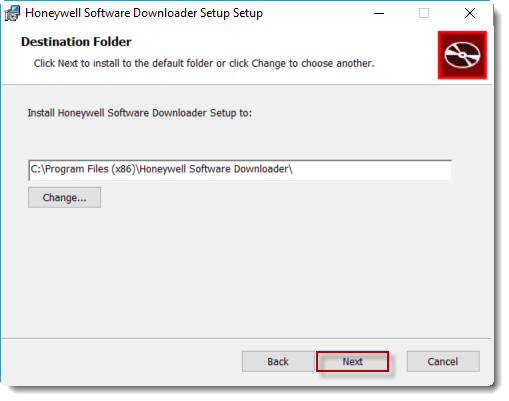
- The installer will automatically select a destination folder. Click Next.
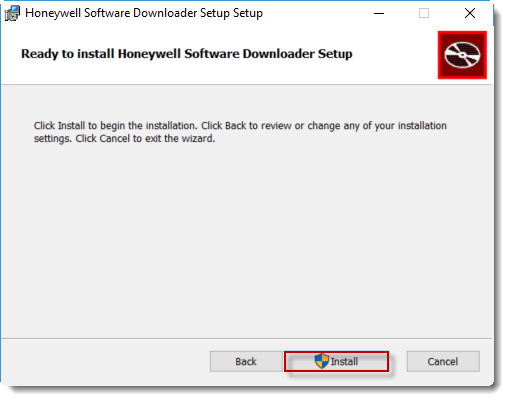
Click Install to begin the installation process. Administrative rights to the computer are necessary to install the driver. You may need to contact your IT department to install the driver or allow you administrative rights to the computer.
- If prompted, click Yes to allow the application to make changes to your computer.
- Click Finish.
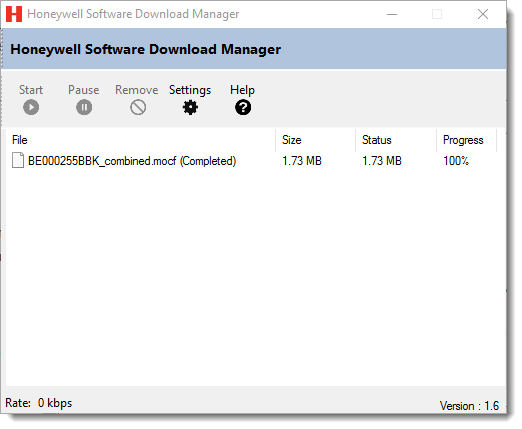
Download and install the Honeywell Download Manager.
Note: Clicking this link will automatically download the Honeywell Download Manager to your computer.
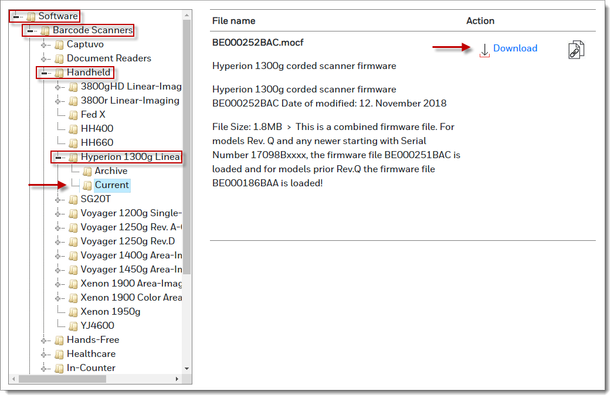
- From the Hyperion website, expand Software > Barcode Scanners > Software > Drivers > Honeywell Scanning (HSM) USB Serial Driver > Current >HSM USB Serial Driver r1.19_Legacy Metrologic_uni-directional-WHQL-03-08-2013.zip. Then, click Download.
- Once you have the driver, make sure the scanner is not connected to the PC and run the setup.
Connect the Scanner
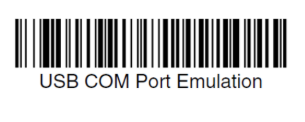
- Plug the scanner into your computer, then scan the following barcodes.
- Scanning this barcode will Change the USB to Serial Emulation.
- Scanning this barcode will enable illumination mode on the scanner.

- Scanning this barcode will enable Standard Presentation mode (Trigger Mode 3).
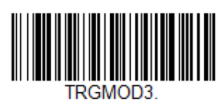
- Scanning this barcode will Change the USB to Serial Emulation.
- Determine which port the scanner is using.
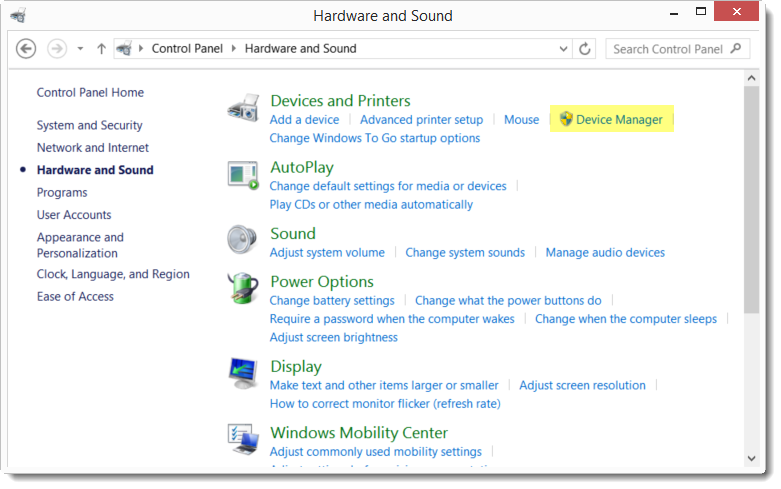
- Click on the Start button from your computer.
- Locate and click on the Control Panel in the menu.
- In the Hardware and Sound window, locate Device and Printers and click on Device Manager.
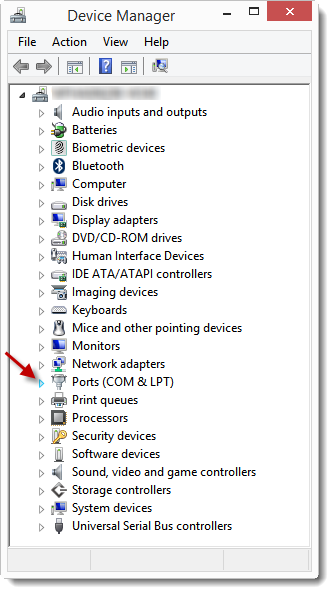
- In the Device Manager window, locate Ports (COM & LPT). Click on the right-facing arrow to expand Ports and view port devices.
- Locate the device named Honeywell Unidirectional Device (COM#) and double click.
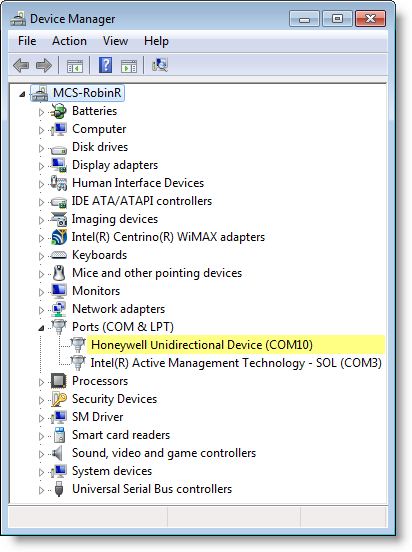
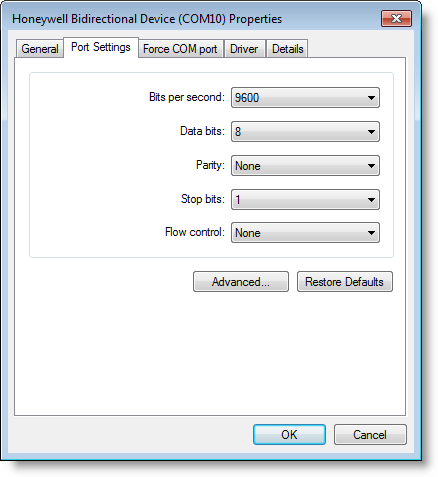
- Next, click on the Port Settings tab. You will need to make notes of the following information in order to proceed.
- COM# (In parenthesis at the top of the window)
- Bits per second
- Data Bits
- Parity
- Stop Bits
- Login to Newton
- Login to Newton.
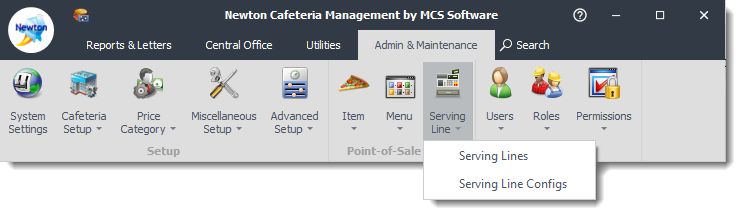
- Locate and click on the Admin and Maintenance tab.
- Locate the Serving Line option in the Point-of-Sale Setup ribbon.
- Select either Serving Lines or Serving Line Configs depending on if your District uses line or a particular template. If you are unsure, check with your point of contact in the District.
Establish Serving Line configurations
Step 5 includes instructions for both Serving Line and Serving Line Configs. Choose the correct section your District utilizes for setup.
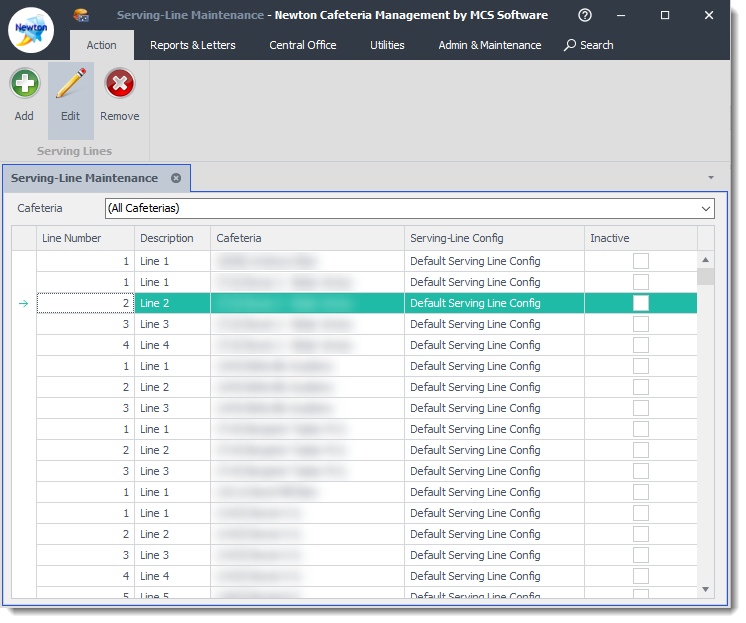
- In the Serving-Line Maintenance window, select a cafeteria by clicking on a row or using the drop-down arrow and click the Edit button. If you use the drop-down arrow, be sure to select the proper serving line to install the device.
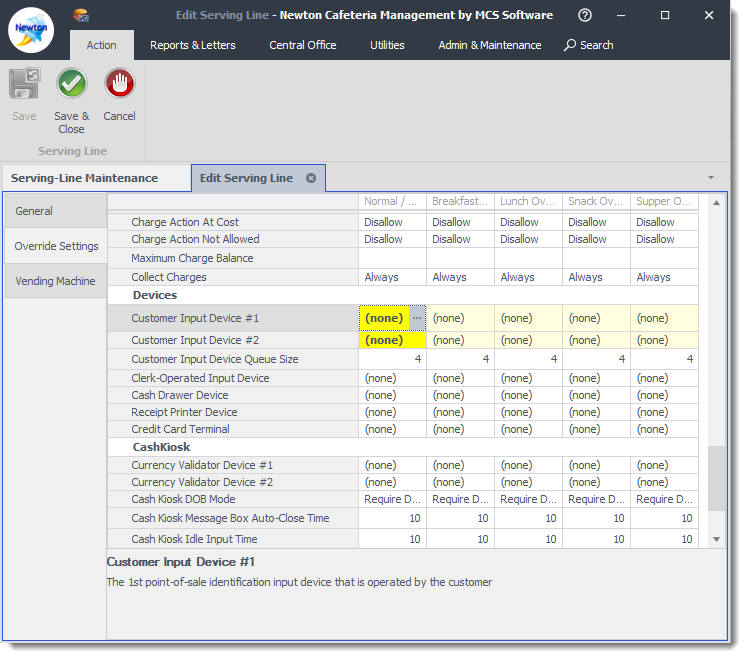
- Click on the Override Settings tab.
- Scroll down and locate the Devices section in the parameters.
Once you have located the Devices section click on Customer Input Device #1, then the ellipsis button. If you were utilizing another input device and plan on the continued use of the other device, select Customer Input Device #2.
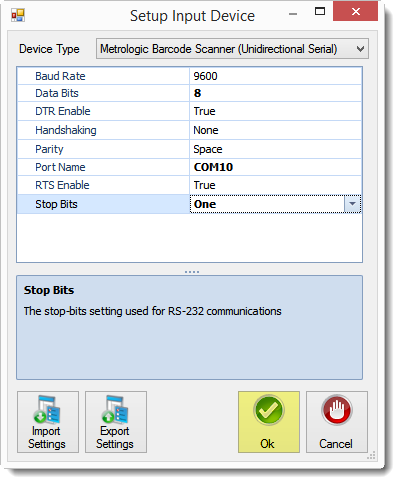
- Use the drop-down arrow to locate and select the Metrologic Barcode Scanner (Unidirectional Serial).

- Ensure the settings match the information noted in step 2b.
- Baud Rate (Bits per second) - Click the cell and change it to match the device settings.
- Data Bits - Click the cell and change it to match the device settings.
- Parity - Click the cell and use the dropdown menu to match the device settings.
- Port Name - Click the cell and change it to match the device settings.
- Stop Bits - Click the cell and use the dropdown menu to match the device settings.
- Click Ok when you have completed adjusting the settings.
- Click Ok again to exit out of the Edit Serving Line window.
- Click Close in the Serving-Line Maintenance window.
- In the Serving-Line Maintenance window, select a cafeteria by clicking on a row or using the drop-down arrow and click the Edit button. If you use the drop-down arrow, be sure to select the proper serving line to install the device.
Test the Scanner
Test the scanner by starting a new meal, starting a serving line configured to the template, or modified for the scanner. Scan barcodes of a few students to ensure Newton is recognizing them in the system.
Usage
- Login to Newton (Back Office) from the main machine and start an operating day by clicking the Start Operating Day link on the checklist or Start New Day from the ribbon.
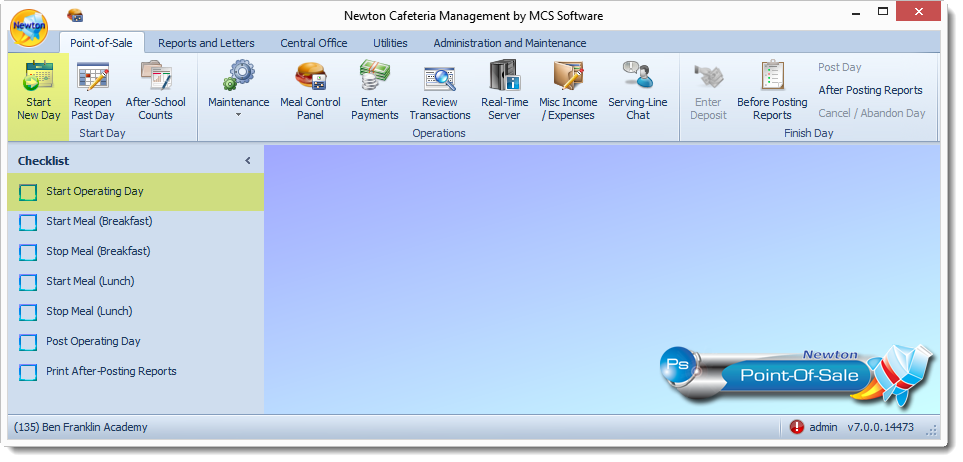
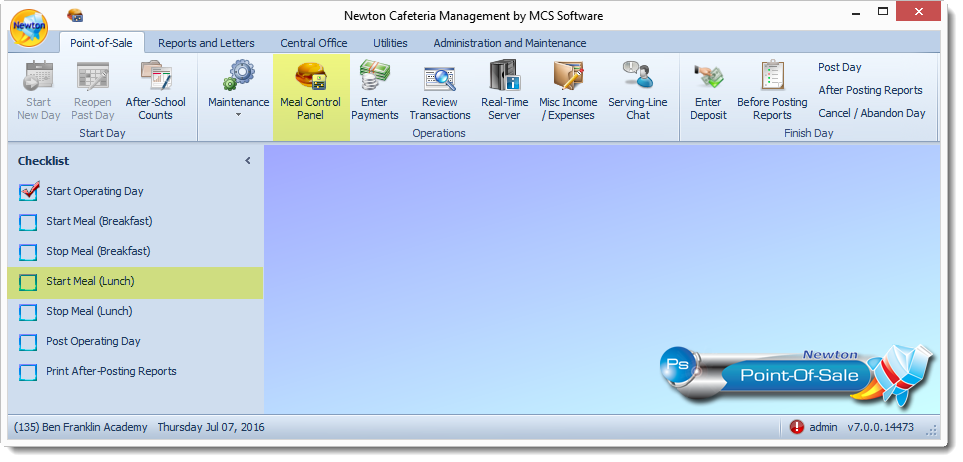
- Start a meal (either breakfast or lunch) by clicking Start Meal (Lunch) or Start Meal (Breakfast) link on the checklist or use the Meal Control Panel in the ribbon to start a meal.
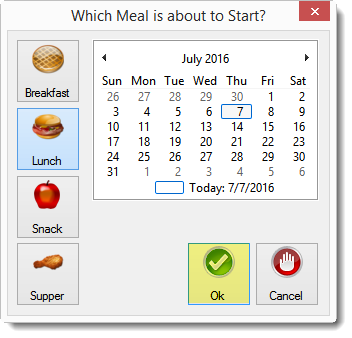
- Ensure the date is correct on the Meal Calendar screen and click Ok.
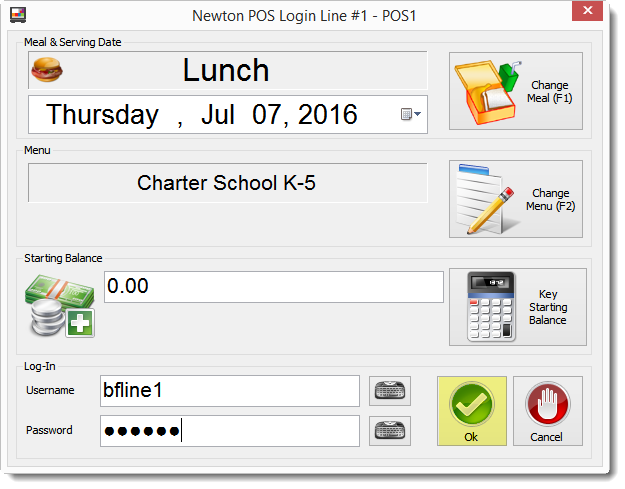
On the POS serving line with the scanner, double click on the Newton POS icon to open up to the login screen.

Note: If you will be enrolling students on the main machine, locate the Meal Control Panel and click on Main Machine to run Newton POS.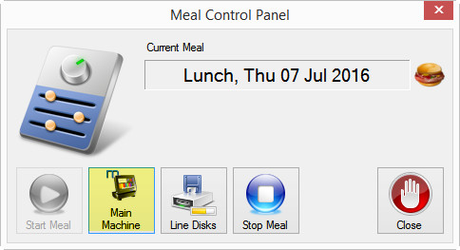
- Login to Newton POS by entering the username and password given to you by the system administrator, then click Ok.
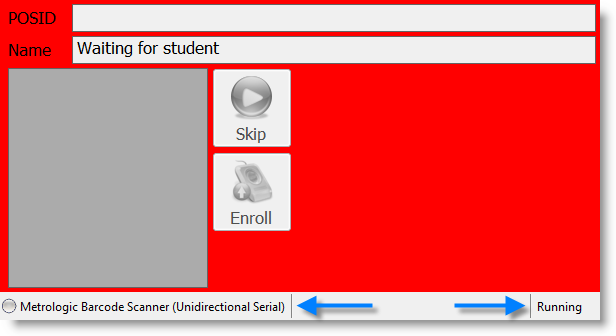
In the Customer Input Device window, scan the student's barcode identification card.
- In the bottom left-hand corner, notice which device is set for the serving line.
- In the bottom right-hand corner, the status of the device is shown. If it working properly, you should see Running. If the device is not functioning properly, you will see Error. Click on Error to review the message.
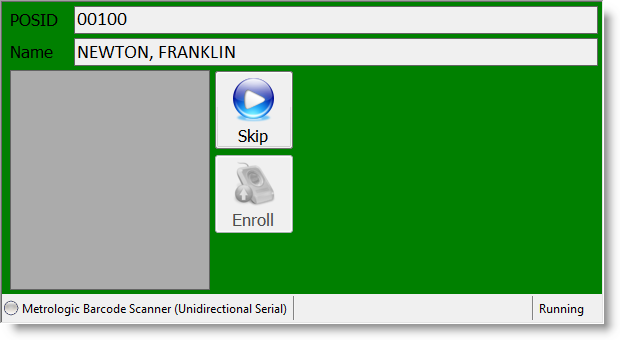
- The student should appear in the Name window. Proceed with normal serving line processes.
After you have finished with line servings, click the Quit Serving Line button to exit Newton POS.
Then, click the Exit Point-Of-Sale button.
Be sure to return to the main machine and stop the meal and post transactions for the day.