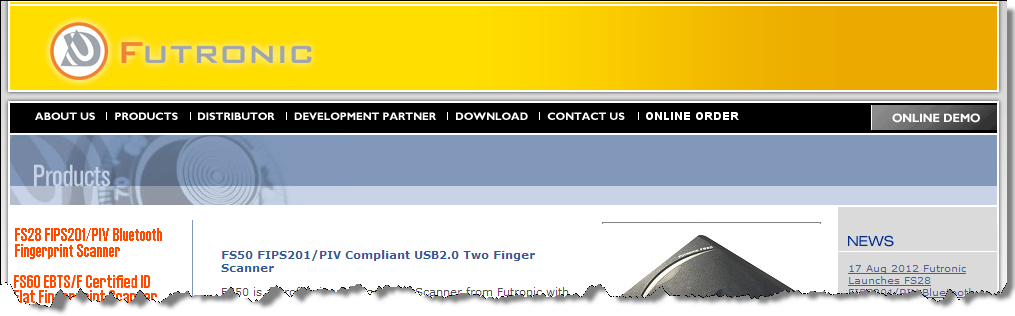
Futronic FS50 Fingerprint Scanner
The FS50 is a professional Fingerprint Scanner from Futronic with a 1.6 x 1.5 inch (40.64 x 38.10 mm) scanning area. Its advanced optical system can capture a high quality image in 0.1 second. It can also handle fingers that are dry, wet, blurred, and scarred without any problem. Its scanning window is a glass prism with a thickness of 33mm. There is also a special anti-scratching coating on the scanning surface of the prism. This makes the FS50 even more robust and ensures long term heavy duty usage in any harsh environment.
The FS50 can capture a single finger, dual fingers, and a roll finger image. It was certified by the FBI to be compliant with PIV-071006 Image Quality Specifications (view PDF) for Single Finger Readers. The FS50 meets the US Federal Information Processing Standard 201(FIPS 201) for Personal Identification Verification (PIV) of Federal Employees and Contractors. It is also listed in the US General Services Administration (GSA) FIPS 201 Evaluation Program Approved Product List (http://fips201ep.cio.gov/apl.php). Futronic ™

Installation & Setup
Drivers should be installed on the machine using the device.
Ensure you have the most recent version of Newton POS by running upgrades in AdminConsole.
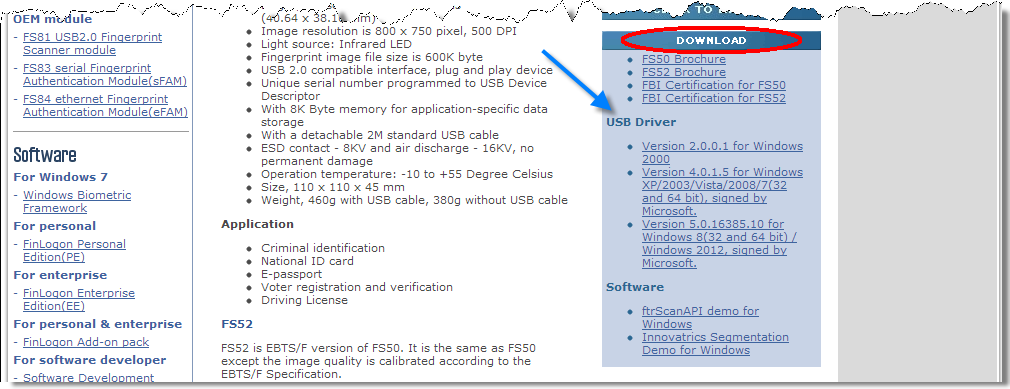
- Download and Install the Driver
- Access the Futronic website and locate the DOWNLOAD space on the right-hand side of the webpage.
- Under the USB Driver section, locate and click on the proper link for the operating system to download the driver file.
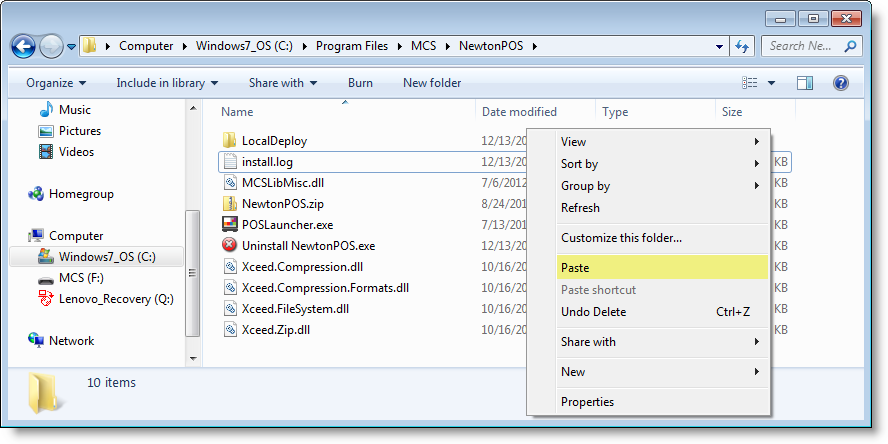
Locate the downloaded file on your computer and right-click and choose Copy.
The driver file will not operate properly in the current location.
- Use the breadcrumb trail, folders, or the navigation folder
 to back out of the file location.
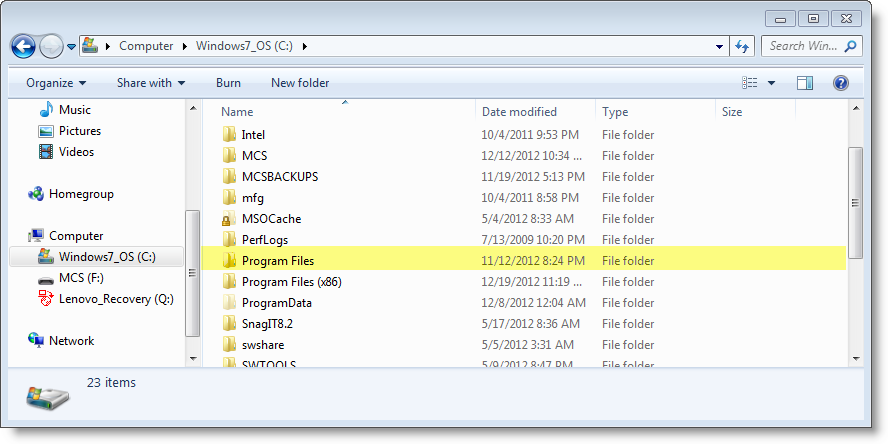
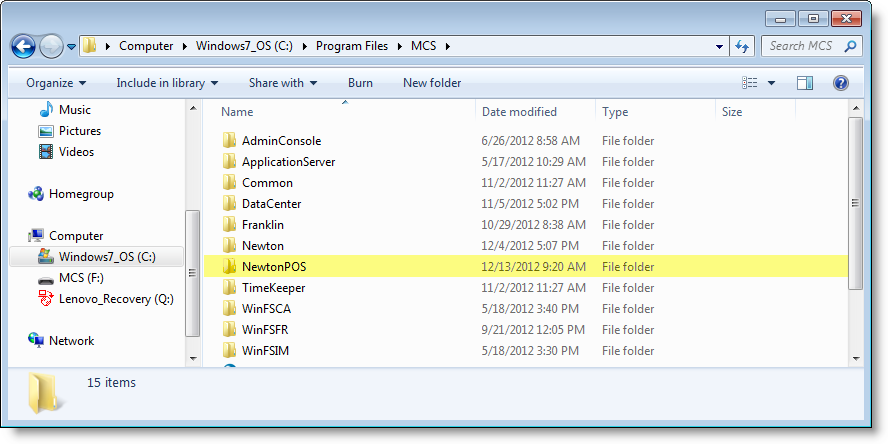
- Locate and double-click on Program Files folder in the c: drive (My Computer).
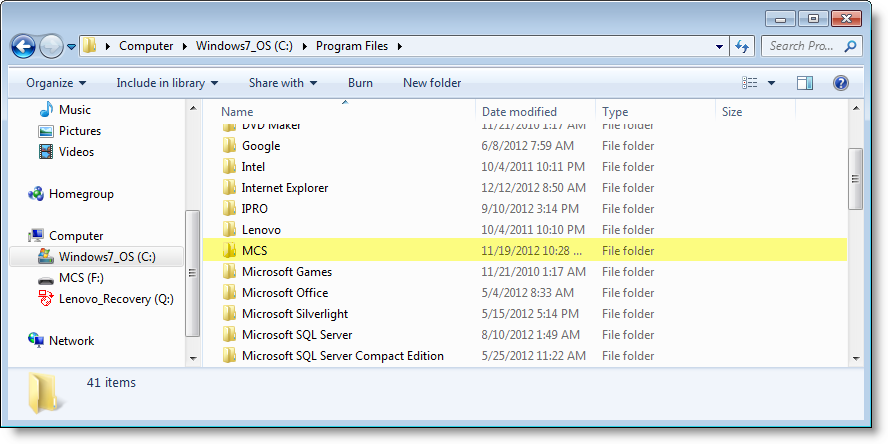
- Locate and double-click the MCS folder.
- Locate and double-click the Newton POS folder.
- Right-click and select Paste to add the file in the folder.
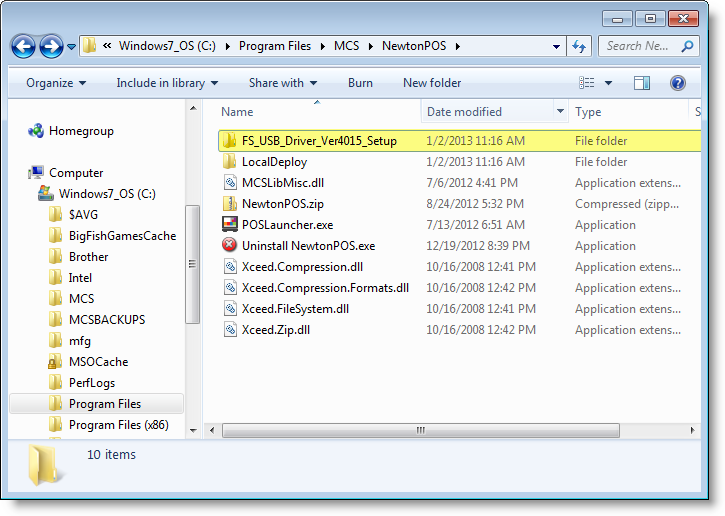
- Double-click on the FS_USB_Driver_Ver4015_Setup folder.
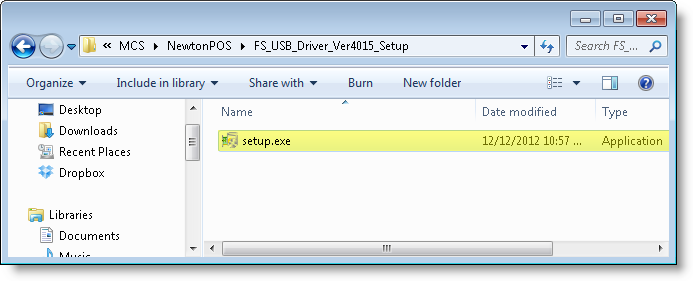
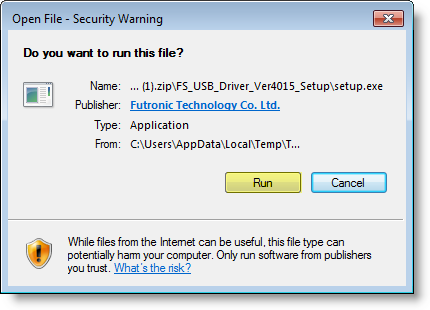
- Double-click on the setup.exe file to begin the installation process.
- Begin the installation process by clicking Run.
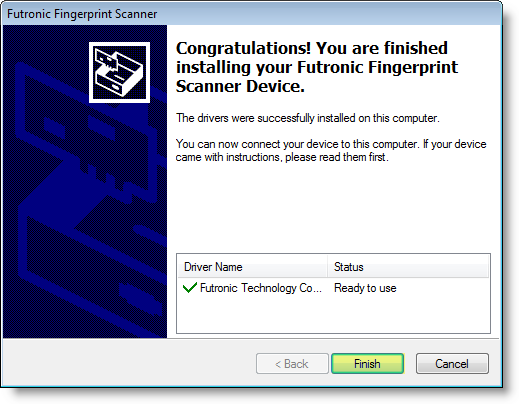
- The installation wizard will appear to guide you through installation. Click Next to continue.

- You should receive a message when the device driver has been successfully installed. Click Finish.
- Login to Newton and connect the fingerprint scanning device.
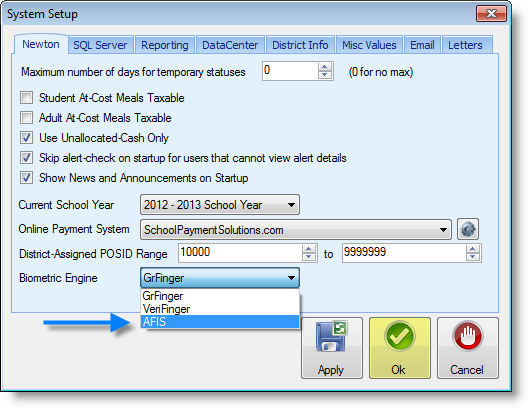
- Establish the biometric engine - Locate and click on the Administration and Maintenance tab. In the Newton tab, locate Biometric Engine and use the drop-down menu and select AFIS. When you are done, click Ok.
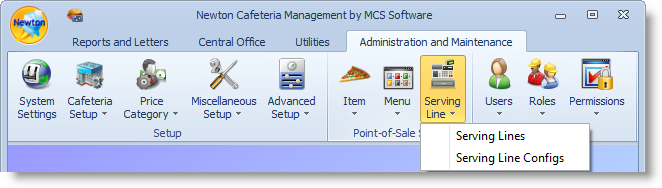
- Establish Serving Line configurations
- Locate the Serving Line option in the Point-of-Sale Setup ribbon.
- Select either Serving Lines or Serving Line Configs depending on if your District uses line or a particular template. If you are unsure, check with your point of contact in the District.
Configure the Device in Newton
Step 5 includes instructions for both Serving Line and Serving Line Configs. Choose the correct section your District utilizes for setup.
In the Serving-Line Maintenance window, select a cafeteria line by clicking on a row or using the drop-down arrow and click the Edit button. If you use the drop-down arrow, be sure to select the proper serving line to install the device.
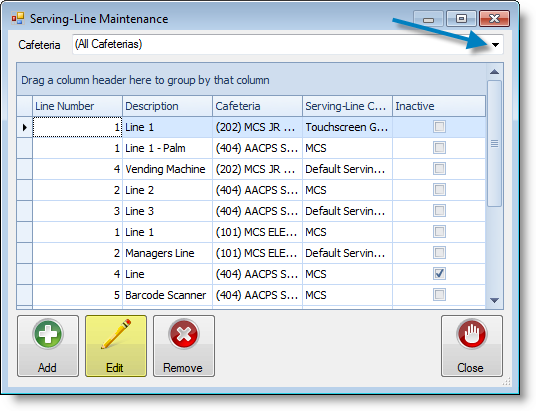
- Click on the Override Settings tab.
- Scroll down and locate the Devices section in the parameters.
- Once you have located the Devices section click on Customer Input Device #1, then the ellipsis button.
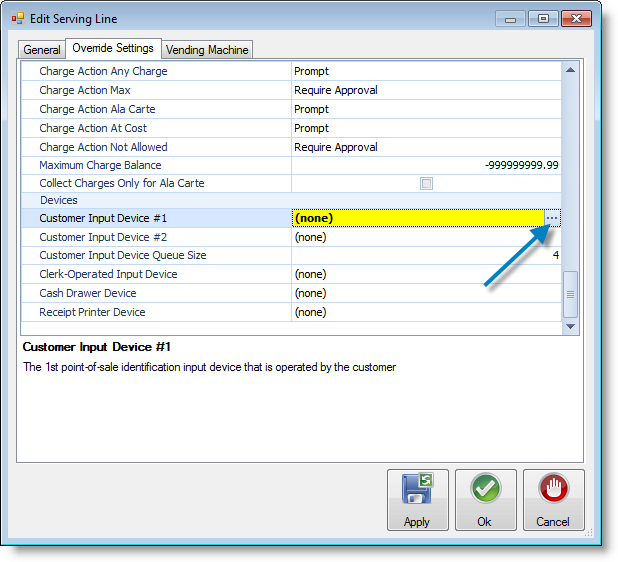
- Use the drop-down arrow to locate and select Fingerprint Scanner.

- Ensure the Scanner Type is set as Futronics. If it is not, click in the cell to use the drop-down menu and make the correct selection.
- Test the fingerprint scanning device
- Plugin the device and restart the computer once you have finished installing the driver.
- Test the Futronics fingerprint scanning device by starting a new meal. Ensure Newton is recognizing meals served in the system.
Enrollment & Usage
- Start the operating day.
- Start a new meal.
- Open NewtonPOS and login.

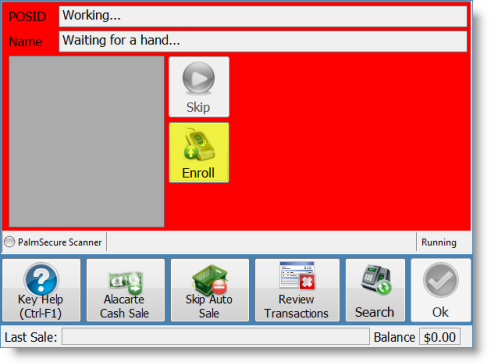
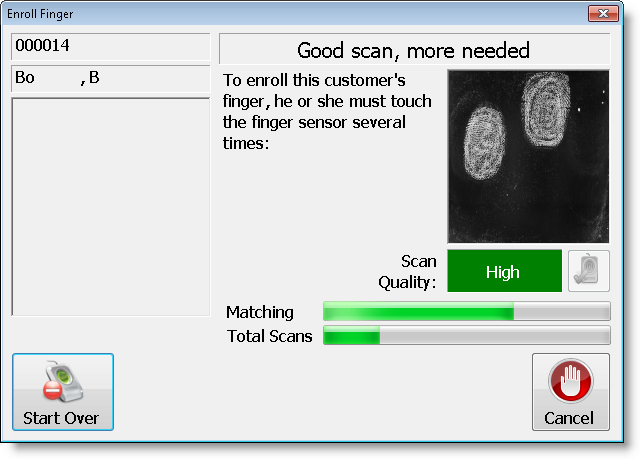
Serving Line window - Click Enroll to begin fingerprint enrollment.
- In the bottom left-hand corner, notice which device is set for the serving line.
- In the bottom right-hand corner, the status of the device is shown. If it working properly, you should see Running. If the device is not functioning properly, you will see Error. Click on Error to review the message.
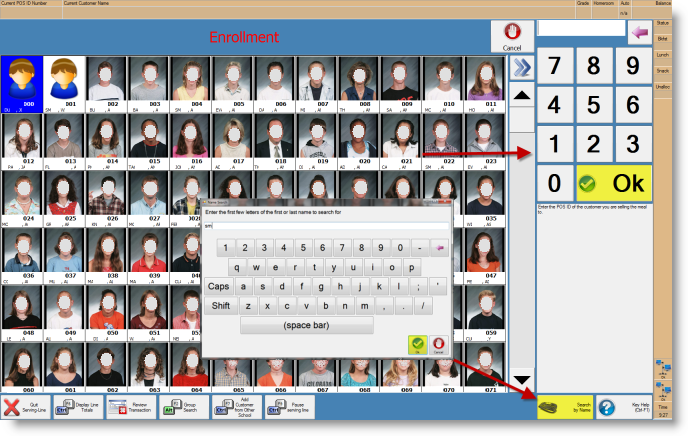
- Select the student by entering the student number or by selecting the student from the list.
- Several scans will be necessary to ensure a student's identity.
- Have the student place his/her index and middle finger on the scanning device and press firmly.
- As the fingerprints are captured, the status bar progresses until there are enough good scans to register the student.
- If a student switching fingers in the middle of scanning, click the Start Over button.
Once a student has been successfully enrolled, they must use the same finger for every meal. The scanner should recognize the print and pull up the student.
Continue the process by normal serving procedures.
After you have finished with line servings, click the Quit Serving Line button to exit Newton POS.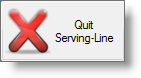
Then, click the Exit Point-Of-Sale button.
Be sure to return to the main machine and stop the meal and post transactions for the day.