Futronic FS80 Fingerprint Scanner
- Robin Rodrigue
Futronic's FS80 USB2.0 Fingerprint Scanner uses advanced CMOS sensor technology and precise optical system to deliver a high quality fingerprint image. It can capture an almost undistorted fingerprint image and is good for any fingerprint recognition application.
The finger scanning window is glass with a thickness of 14mm. It is much more reliable and robust compared to any semiconductor-type fingerprint sensor.
The finger is illuminated by 4 infra-red LEDs during scanning and the light intensity is automatically adjusted according to scanning fingerprint characteristics (wet, dry, blurred, etc) to optimize the quality of the captured fingerprint image.
Special electronic circuits are built into FS80 to do Live Finger Detection (LFD). With appropriate software, a user can select this LFD feature so that only live fingers will be scanned into PC. Fake fingers made from silicone, rubber, Play-Doh®, etc, will be rejected. The LFD feature is included in all Futronic's standard software. Futronic ™

Installation & Setup
Ensure you have the most recent version of Newton POS by running upgrades in AdminConsole.
Drivers should be installed on the machine using the device.
- Download and Install the Driver
- Login to the Customer Portal and select Download Software from the Common Links section.
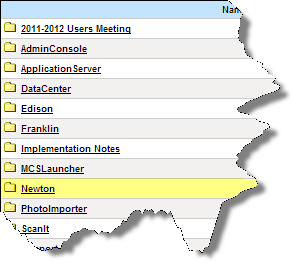
- Locate and click on the Newton folder to open it.
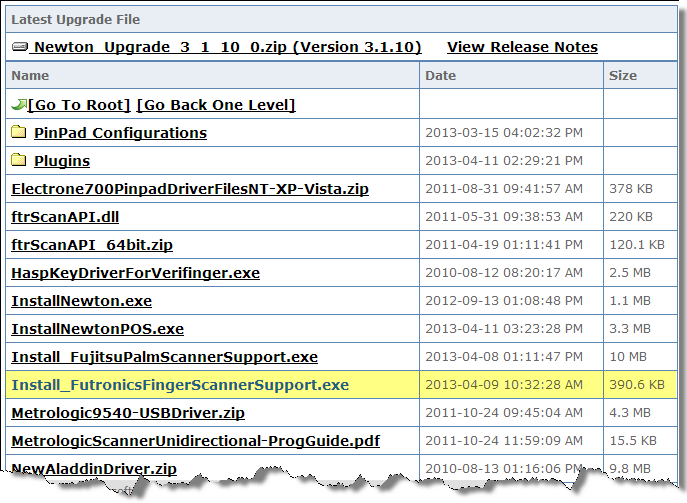
- Locate and click on the ftrScanAPI_64bit.zip file to download the file.
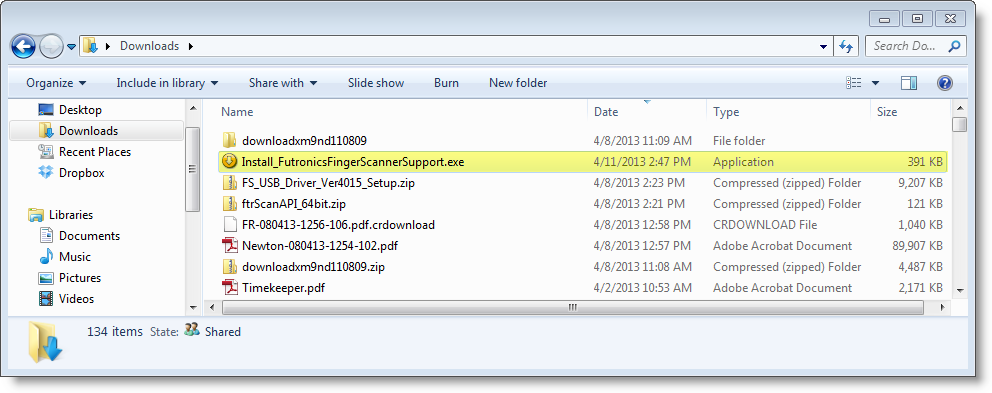
- Locate the downloaded .zip file on your computer and double-click to begin the installation process.
- In the Open File - Security Warning window, uncheck Always ask before opening this file. Then, click Run.

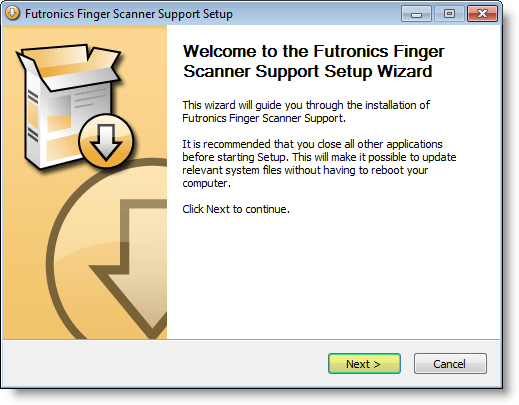
- In the Futronics Finger Scanner Support Setup window, you are alerted to close all other applications before starting setup. Once you have closed other programs, click Next.
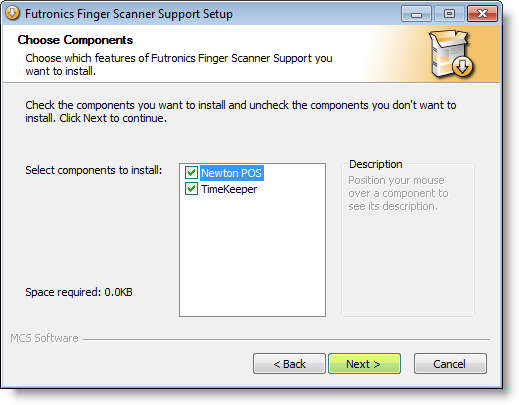
- Choose which components you would like to install by checking/unchecking components. Then, click Next.
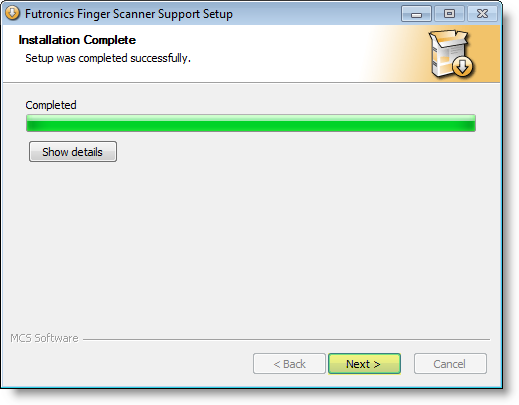
- You will see installation processes running. Once installation processes have completed, click Next.
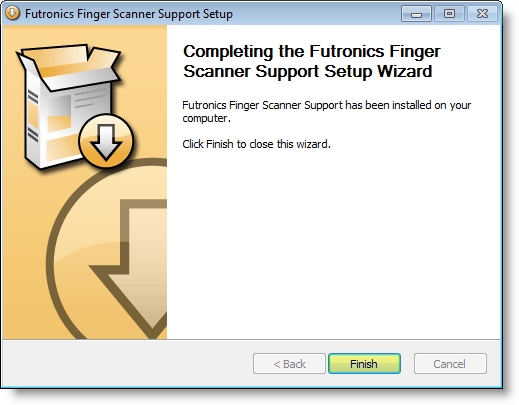
- Click Finish to complete the installation process.
- Login to Newton and connect the fingerprint scanning device.
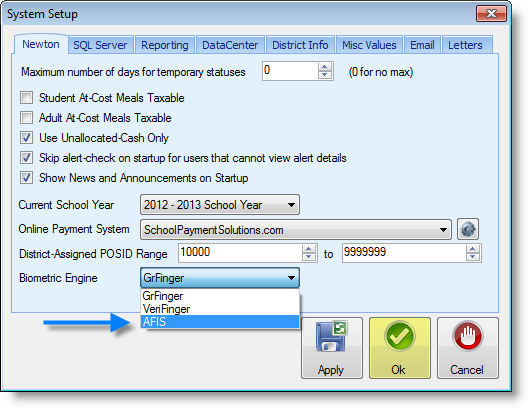
- Establish the biometric engine - Locate and click on the Administration and Maintenance tab. In the Newton tab, locate Biometric Engine and use the drop-down menu and select AFIS. When you are done, click Ok.
- Establish Serving Line configurations
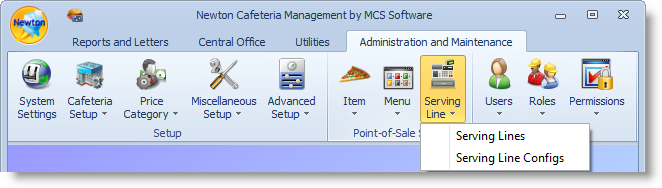
- Locate the Serving Line option in the Point-of-Sale Setup ribbon.
- Select either Serving Lines or Serving Line Configs depending on if your District uses line or a particular template. If you are unsure, check with your point of contact in the District.
Configure the Device in Newton
Step 5 includes instructions for both Serving Line and Serving Line Configs. Choose the correct section your District utilizes for setup.
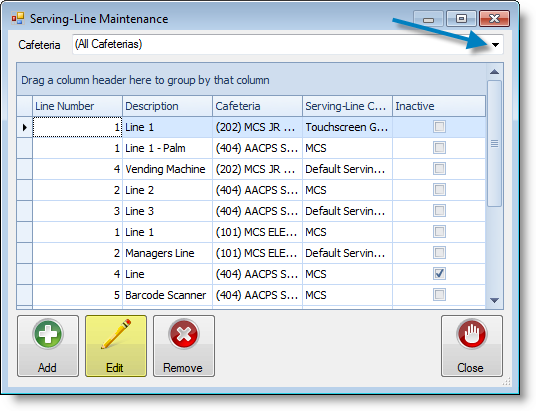
- In the Serving-Line Maintenance window, select a cafeteria line by clicking on a row or using the drop-down arrow and click the Edit button. If you use the drop-down arrow, be sure to select the proper serving line to install the device.
- Click on the Override Settings tab.
- Scroll down and locate the Devices section in the parameters.
- Once you have located the Devices section click on Customer Input Device #1, then the ellipsis button.
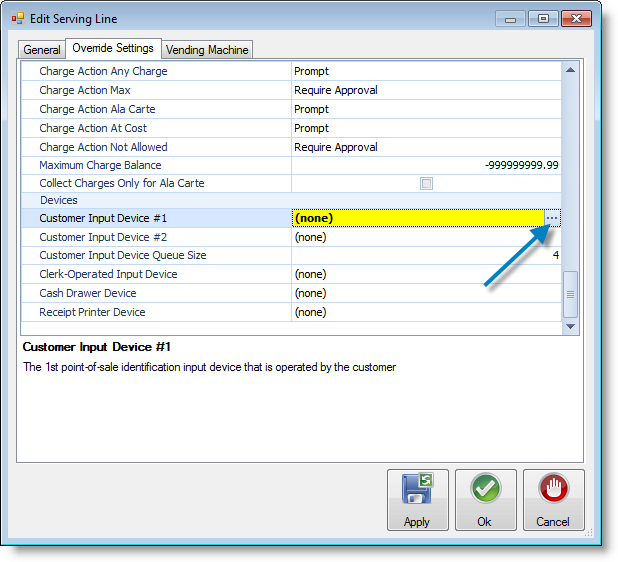
- Use the drop-down arrow to locate and select Fingerprint Scanner.

- Ensure the Scanner Type is set as Futronics. If it is not, click in the cell to use the drop-down menu and make the correct selection.

- In the Serving-Line Maintenance window, select a cafeteria line by clicking on a row or using the drop-down arrow and click the Edit button. If you use the drop-down arrow, be sure to select the proper serving line to install the device.
- Test the fingerprint scanning device.
Test the Futronics fingerprint scanning device by starting a new meal. Ensure Newton is recognizing meals served in the system.
Enrollment & Usage
- Start the operating day.
- Start a new meal.
- Open NewtonPOS and login.
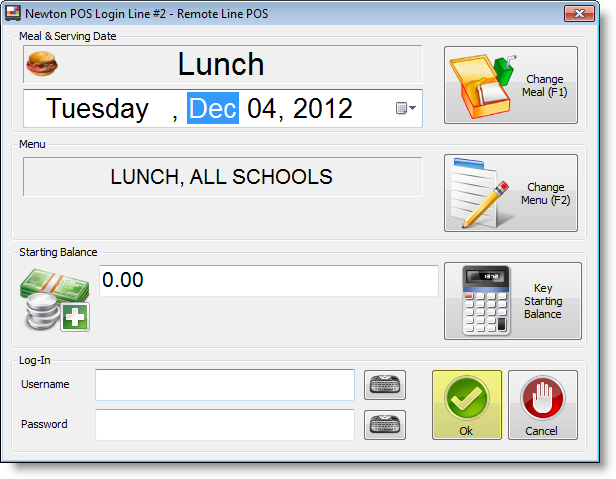
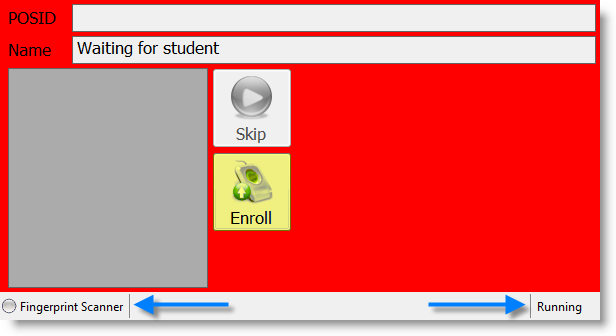
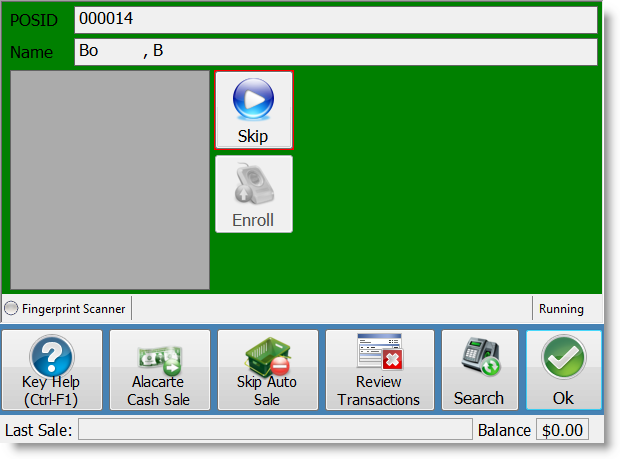
Serving Line window - Click Enroll to begin fingerprint enrollment.
- In the bottom left-hand corner, notice which device is set for the serving line.
- In the bottom right-hand corner, the status of the device is shown. If it working properly, you should see Running. If the device is not functioning properly, you will see Error. Click on Error to review the message.
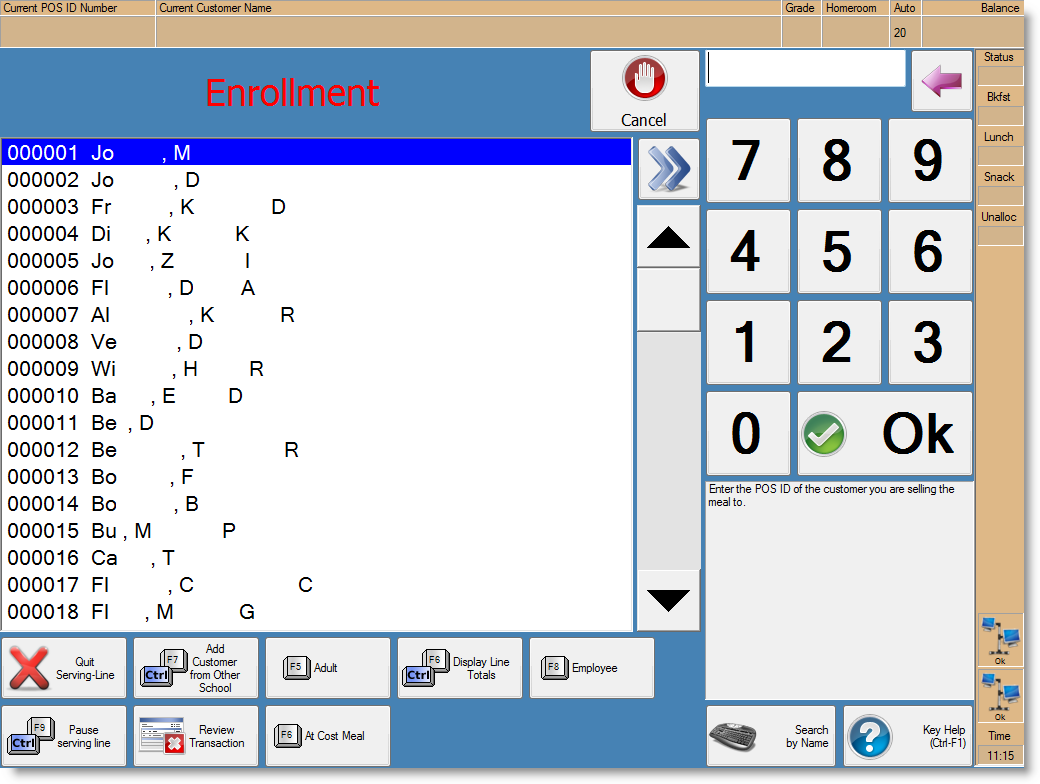
- Select the student by entering the student number or by selecting the student from the list.
- Several scans will be necessary to ensure a student's identity.
- Have the student place his/her finger on the scanning device.
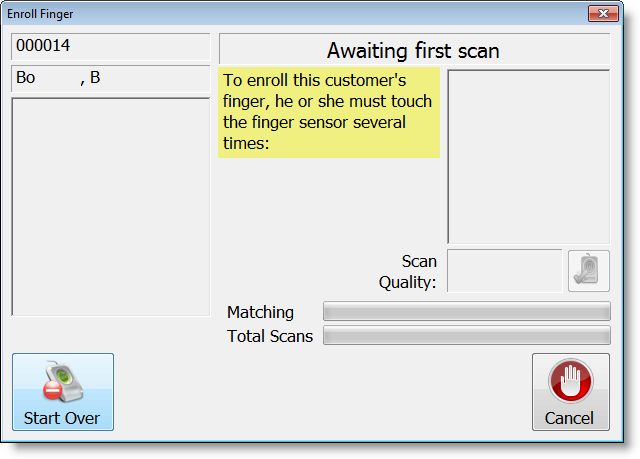
- As the fingerprint is captured, the status bar progresses until there are enough good scans to register the student.
- If a student switching fingers in the middle of scanning. click the Start Over button.

- Have the student place his/her finger on the scanning device.
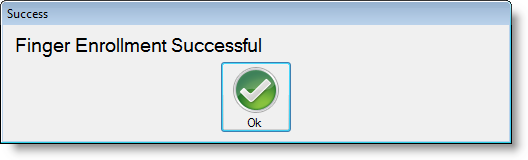
Once a student has been successfully enrolled, they must use the same finger for every meal. The scanner should recognize the print and pull up the student.
Continue the process by normal serving procedures.
After you have finished with line servings, click the Quit Serving Line button to exit Newton POS.
Then, click the Exit Point-Of-Sale button.
Be sure to return to the main machine and stop the meal and post transactions for the day.