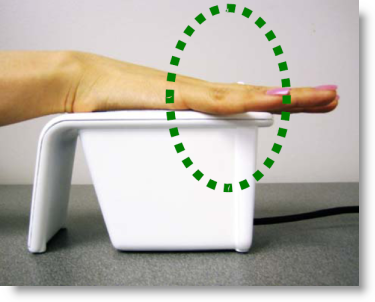
Fujitsu PalmSecure Palm Scanner
Fujitsu provides a highly reliable biometric authentication system based on palm vein pattern recognition technology. PalmSecure™ features industry-leading authentication accuracy with extremely low false rates, and non-intrusive and contactless reader device provides ease of use with virtually no physiological restriction for all users. The Fujitsu PalmSecure sensor uses near-infrared light to capture a person's palm vein pattern, generating a unique biometric template that is matched against pre-registered user palm vein patterns. The palm vein device can only recognize the pattern if the blood is actively flowing within the individual's veins, which means that forgery is virtually impossible. Fujitsu™
In order to enroll students using the palm scanner, please refer to the Palm Scanning Enrollment section of this page. There is also an additional Palm Scanner Videos to enhance the written documentation.
Features
- Advanced biometric authentication algorithm delivers ultra-low FAR (false accept rate) and FRR (false reject rate)
- Contactless palm vein authentication is hygienic and noninvasive - No Residual Trace Technology
- Encrypted repository for template storage & enterprise level event logging capability
- PalmSecure Authentication recognized by leading International Security Bodies, including International Common Criteria and CNIL Speed and Extensibility
- Quick-start deployment across the enterprise raises security and adds value
- SDK (Software Development Kit) for organizations deploying PalmSecure technology
- Fast and easy registration with virtually no enrollment error
- Biometric integration for third party Single Sign-On (SSO) solutions with PalmSecure LOGONDIRECTOR
For those concerned with latex allergies, the Fujitsu Palm Scanner contains no latex products in the hand guide. The material is Polycarbonate/Acrylonitrile Butadiene Styrene (PC/ABS), a commonly used plastic.
Technical Specs
| Supply voltage (from USB power) | 4.4 to 5.4V (Input current: up to 500mA) |
| Reliability | MTBF (mean time between failure):830,000 hours for sensor only. 250,000 hours for controller only |
| FAR (false accept rate) | 0.00008% |
| Sensor surface material | Glass |
| Palm Capture Distance | 2 inches from the surface of the sensor (+/- .5 inch) |
| Outer dimensions (sensor only) | 1.37(W) x 1.37(D) x 1.06(H) inches |
| Supported OS | Client: Windows® 7, XP Pro, Vista, Redhat Linux Ver. 5 Server: Windows Server 2003 and 2008, Redhat Linux Ver. 5 |
| Power consumption | 2.5W or less |
| Authentication response time | Less than 1 second |
| FRR (false reject rate) | 0.01% |
| Acoustic Noise | None |
| Operating Temperature | 0°C to 60°C |
| Hand Guide Material | Polycarbonate/Acrylonitrile Butadiene Styrene (PC/ABS) |
Installation & Setup
In order to install devices, you must have Administrator permissions.
Do not plug in the device until instructed to do so.
If you are installing a palm scanner on a Windows 8 or above operating system, you must have latest M3 sensor with V2 indicated on the bottom of the device.
Step 1: Login to the MCS Customer Portal and select Software Downloads.
Step 2: Click on the Timekeeper folder to open.
Step 3: Select the Install_FujitsuPalmScannerSupport.Exe file.
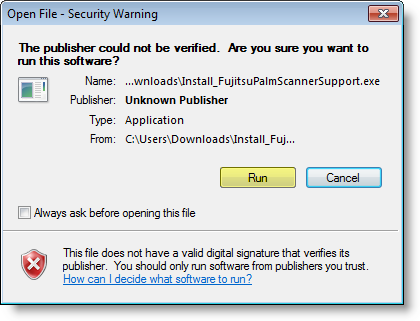
Step 4: Locate the file if it was downloaded. In the Open File-Security Warning window, choose Run at the prompt.
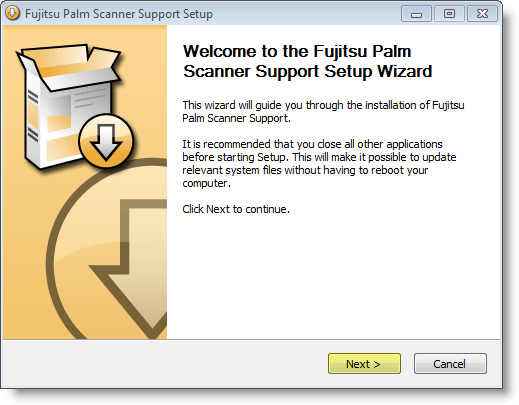
- It is recommended that all other applications are closed before proceeding. Click Next on the following Palm Scanner Support Wizard window.
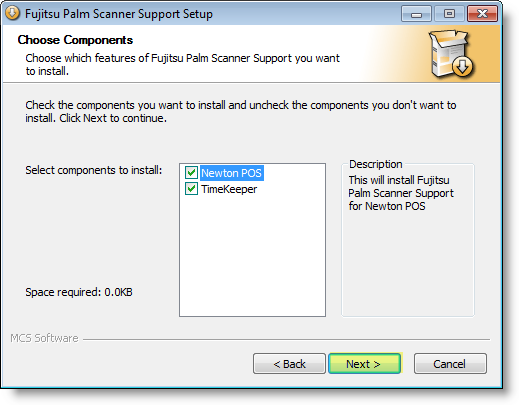
- Select the software components to install. Then, click Next.
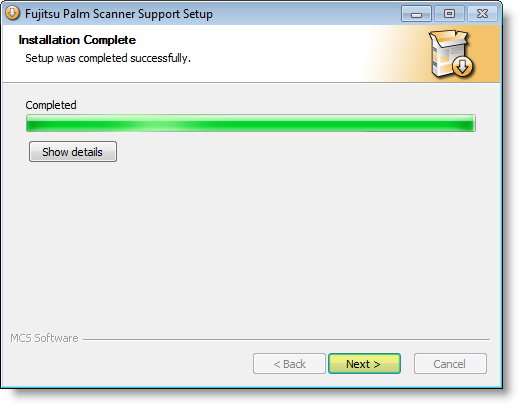
- Once the installation process is complete, click Next.
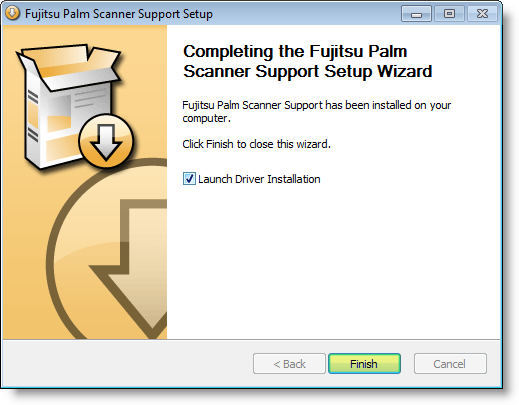
- When you reach the final window, select the Launch Driver Installation option and click Finish to begin the driver installation.
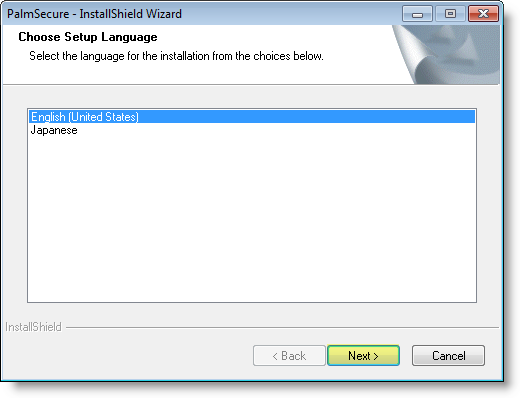
- Select a setup language. Then, click Next.
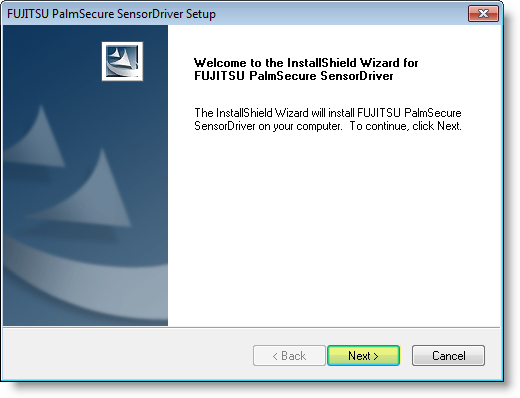
- In the Fujitsu PalmScanner Sensor Driver Setup window, click Next to begin installing the sensor driver.
If you receive a Windows Logo Testing warning, select Continue Anyway.
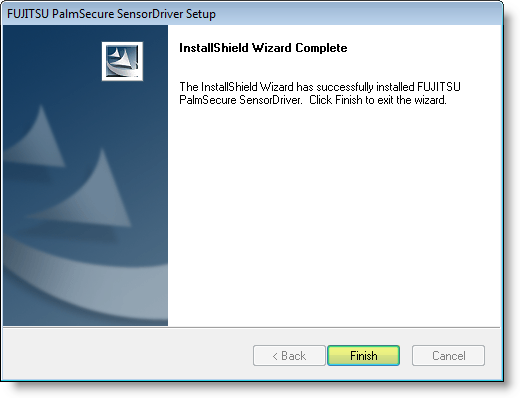
- Click Finish once the installation is complete.
Step 5: Connect the palm scanning device.
Step 6: From the Administration and Maintenance tab, locate Terminals. Then, select Terminal Setups.
Step 7: Setup the terminal options. Click Ok once you have established settings.
- Click in the Description column next to the asterisk * and enter the name.
- Use the drop-down arrow in the Authentication Mode column and select Palmscan.
- If you wish to use more than one authentication mode, click in the Allow Other Auth Modes box.
- If you wish to show the Timekeeper icon in the WindowsTM tray, click in the Show Tray Icon box.
- Click in the Input Device Settings column and click the ellipsis button.
- Use the drop-down menu to select PalmSecureScanner. Then, click Ok.
Step 8: From the Administration and Maintenance tab, locate Terminals. Then, select Terminals.
Step 7: Locate the correct terminal location and use the drop-down arrow under the Terminal Setup column to select Palm Scan. Then, click Ok.
Step 8: Restart your computer.
Enrollment
Make sure the scanner has been completely configured before beginning the process.
For additional instruction on enrolling employees using the palm scanner, you can view the Palm Scanner Videos.
Log into Timekeeper from the main machine.
Step 1: From the Home tab, click on Enroll Employee.
Step 2: Select the employee to enroll from the list and click Ok.
Step 3: In the Edit Employee Authentication window, click the Add button. If Palmscan already exists, you can select it and click the Edit button.
Step 4: Select Palmscan and click Ok.
Step 5: Click the Enroll Palmscan button to being the enrollment process.
Step 6: The onscreen instructions will guide you through the enrollment process.
IMPORTANT! It is recommended that all employees are enrolled using the right hand to maintain consistency. This helps the user always know which hand was used for enrollment in case the employee forgets.
Place the hand, fingers spread open, all the way to the top of the palm guide so that the middle finger is in between the two finger dividers at the top of the guard. The webbing between the index and middle finger and the middle, right ring-finger should be touching the two finger dividers with the palm flat down. The object is to let as little light in as possible, so the infrared scanner can read the veins.
The employee will place their hand on the scanner and follow the onscreen instructions. The first scan will direct you to place the hand on the scanner, hold it still, and do not move. The message to move your hand away from the scanner may appear if the scanner is not getting a good read of the palm. If a scan is successful, you will be returned to the Configure Palmscan Authentication window. The following screen shots will show the entire process:
Step 7: Test the scan by clicking the Test Palmscan button.
Step 8: Place the hand over the device. The employee's name should appear. It may take a few test tries depending on how the employee places his/her hand on the device. Click Close once the test is complete.
Step 9: Click Ok in the Configure Palmscan Authentication window. Then, click Ok in the Edit Employee Authentication window.
Usage
While in terminal mode, select the PalmSecure Scanner tab (if has not been selected) and place the employee's hand over the sensor.
The Time Sheet window will appear for the employee. The employee should proceed with normal clock-in/clock-out, change of job codes, and travel procedures.


