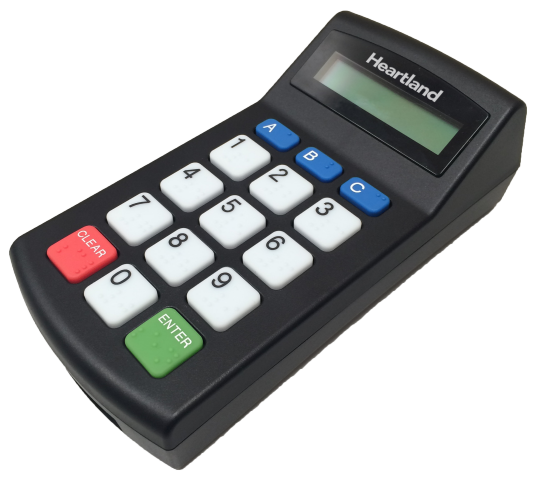
Genovation HSS0231/5954-S-NEW Pin Pad
The MCS PINPAD is designed to be a true Plug and Play USB device and will automatically be activated by all Microsoft Windows XP and newer, 32-bit and 64-bit operating systems.
To install the MCS PINPAD, just plug it into any available USB port.
Windows will automatically detect and install the correct USB device driver and then activate your MCS PINPAD without any user input.
Once complete, Windows will display that your USB device is installed properly and ready to use. Genovation ™
Installation & Setup
If you have other scanning devices connected, unplug them all. Be sure to note which USB ports other scanning devices are connected as they have already been established in Serving Line setup.
Administrator rights are required to install the device driver. If you do not have administrative rights to the computer(s) you are installing the device, contact Central Office support or your IT department.
- Connect the Pin Pad - Plug the pin pad into a USB port.
- Login to Newton.
- Login to Newton.
- Locate and click on the Admin and Maintenance tab.
- Locate the Serving Line option in the Point-of-Sale Setup ribbon.
- Select either Serving Lines or Serving Line Configs depending on if your District uses line or a particular template. If you are unsure, check with your point of contact in the District.
- Establish Serving Line configurations
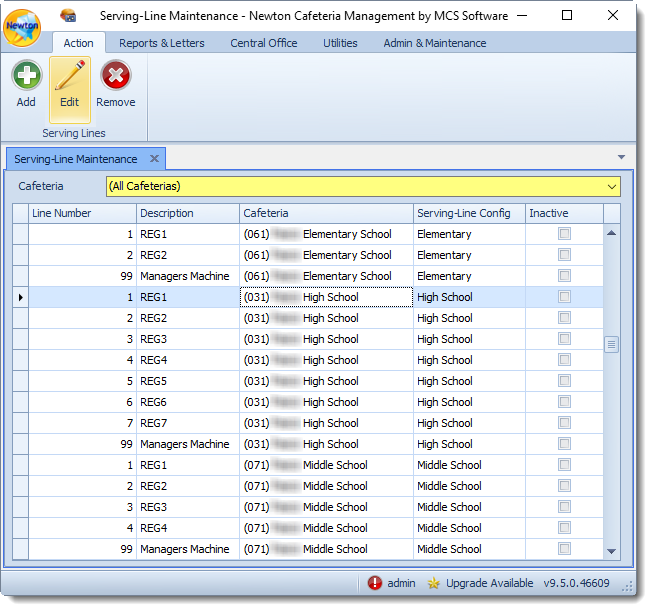
- In the Serving-Line Maintenance window, select a cafeteria by clicking on a row or using the drop-down menu to sort by a school. Then, click the Edit button.
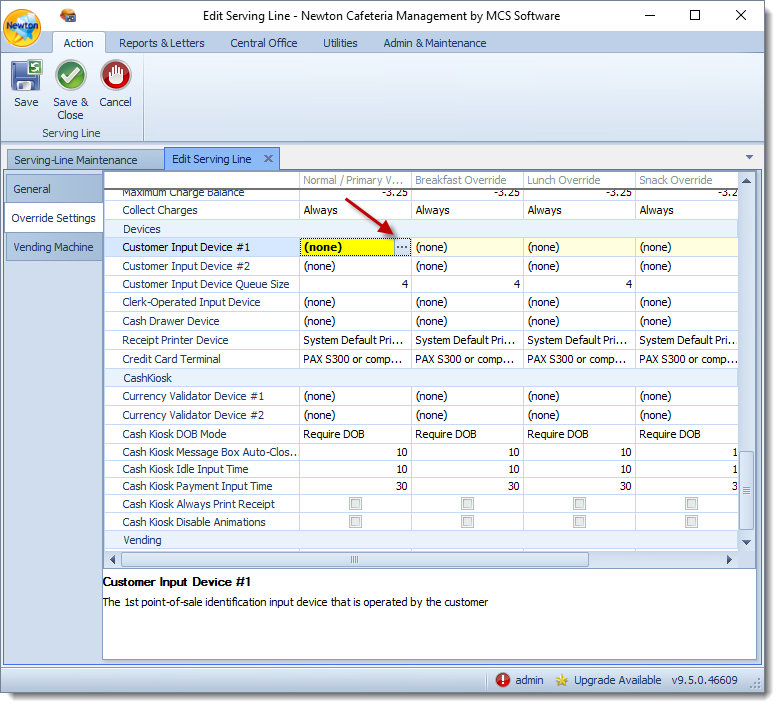
- Click on the Override Settings tab on the left-hand side of the screen.
- Scroll down and locate the Devices section in the parameters.
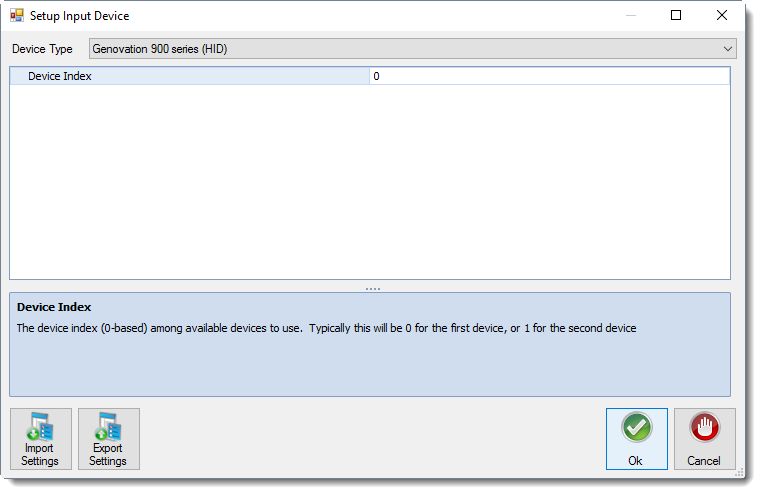
Once you have located the Devices section click on Customer Input Device #1, then the ellipsis button.
If you were utilizing another input device and plan on the continued use of the other device, select Customer Input Device #2.
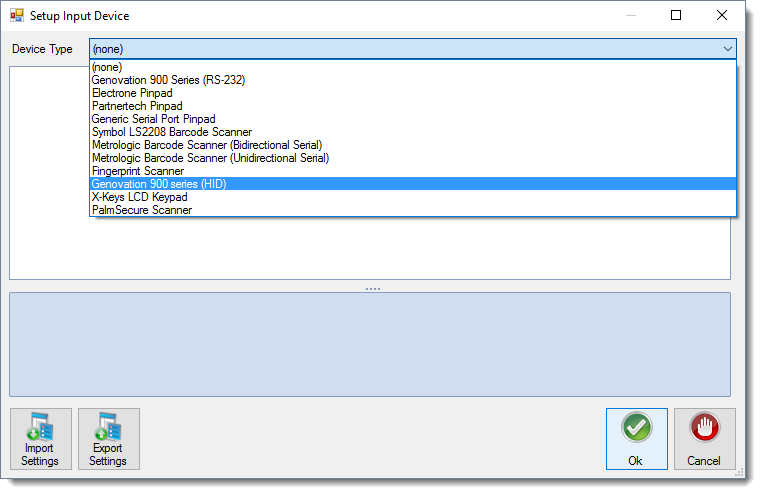
Use the drop-down arrow to locate and select Genovation 900 series (HID) Series.
Establish line settings - Device Index - The device index typically remains at 0.
For multiple pin pads on a serving line, set the first pin pad to Device Index 0 and the second pin pad to Device Index 1.
Click Ok when you have completed adjusting the settings.
- Click Ok again to exit out of the Edit Serving Line window.
- Click Close in the Serving-Line Maintenance window.
- Test the Pinpad device.
- In the Serving-Line Maintenance window, select a cafeteria by clicking on a row or using the drop-down menu to sort by a school. Then, click the Edit button.
Test the Pinpad device by starting a new meal. Ensure Newton is recognizing meals served in the system.
Usage
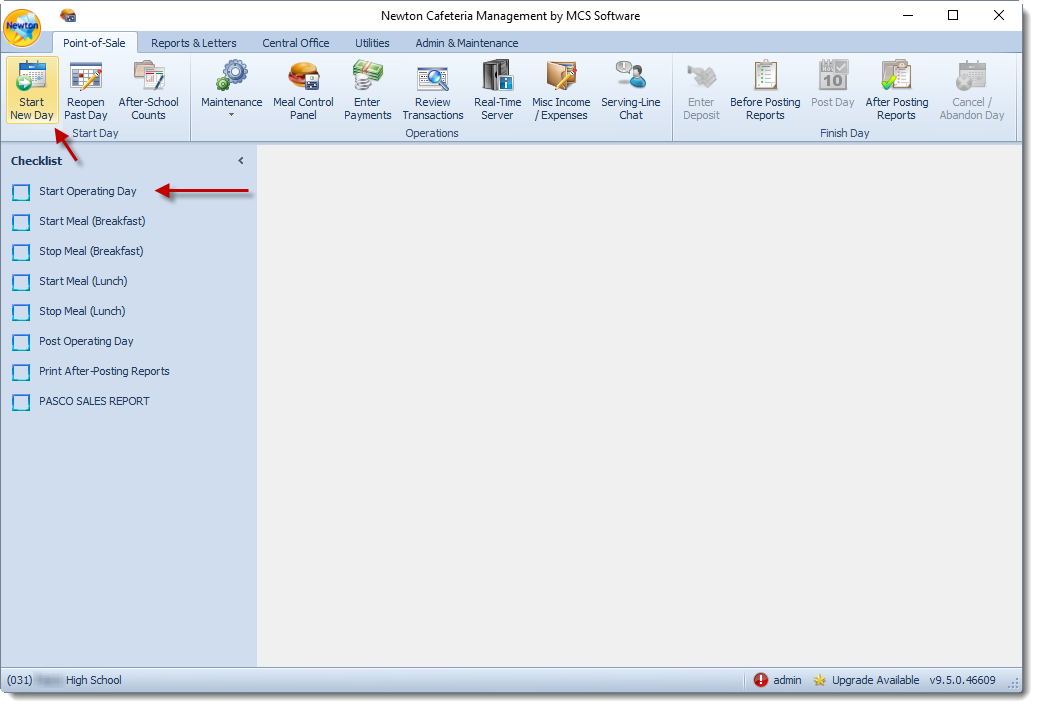
- Login to Newton (Back Office) from the main machine and start an operating day by clicking the Start Operating Day link on the checklist or Start New Day from the ribbon.
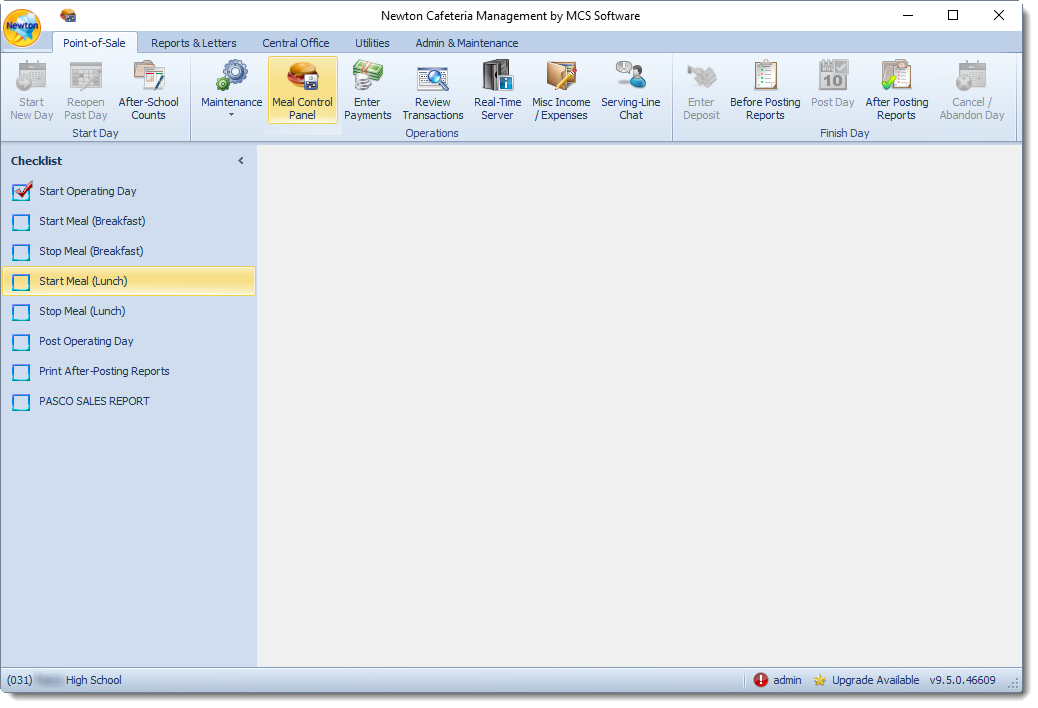
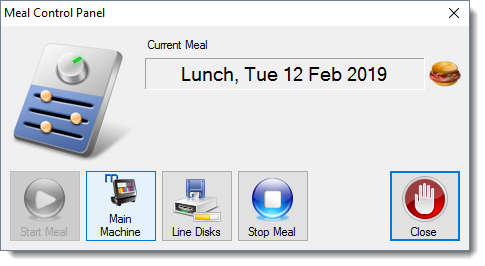
- Start a meal (either breakfast or lunch) by clicking Start Meal (Breakfast) or Start Meal (Lunch) link on the checklist or use the Meal Control Panel in the ribbon to start a meal.
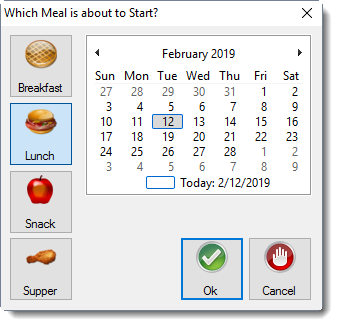
- Ensure the date is correct on the Meal Calendar screen and click Ok.
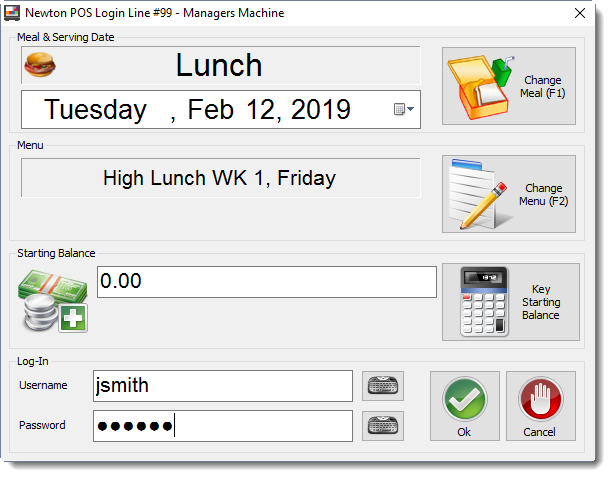
On the POS serving line with the scanner, double click on the Newton POS icon to open up to the login screen.
If you will be enrolling students on the main machine, locate the Meal Control Panel and click on Main Machine to run Newton POS.
- Login to Newton POS by entering the username and password given to you by the system administrator, then click Ok.
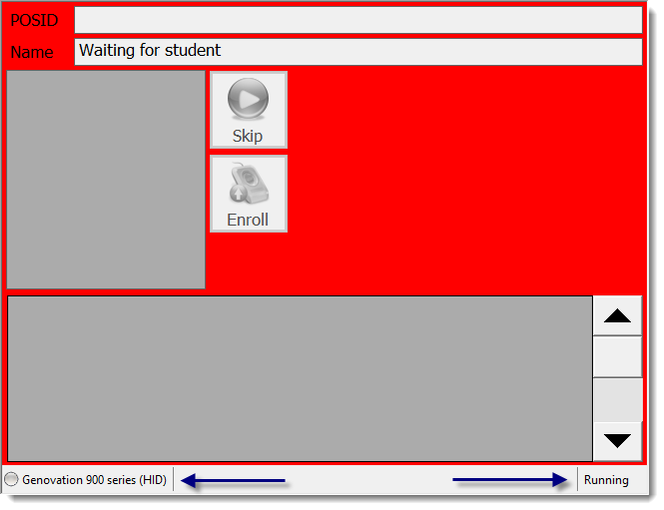
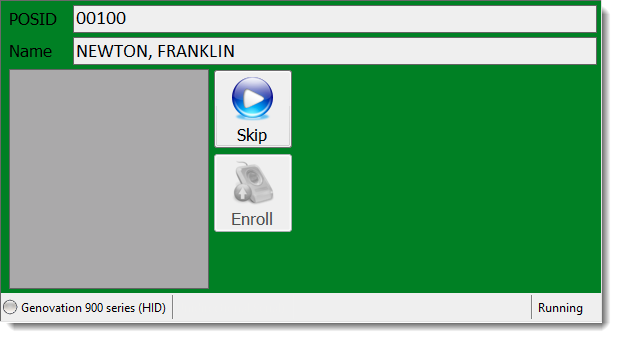
In the Customer Input Device window, scan the student's barcode identification card.
- The student should appear in the Name window. Proceed with normal serving line processes.
After you have finished with line servings, click the Quit Serving Line button to exit Newton POS.
Then, click the Exit Point-Of-Sale button.
Be sure to return to the main machine and stop the meal and post transactions for the day.
