...
...
| Anchor | ||||
|---|---|---|---|---|
|
| Section | ||||||||||||||||
|---|---|---|---|---|---|---|---|---|---|---|---|---|---|---|---|---|
|
...
|
...
| Section | |||||||||||||||||||||||||||||||||||||||||||
|---|---|---|---|---|---|---|---|---|---|---|---|---|---|---|---|---|---|---|---|---|---|---|---|---|---|---|---|---|---|---|---|---|---|---|---|---|---|---|---|---|---|---|---|
|
...
| Anchor | ||||
|---|---|---|---|---|
|
...
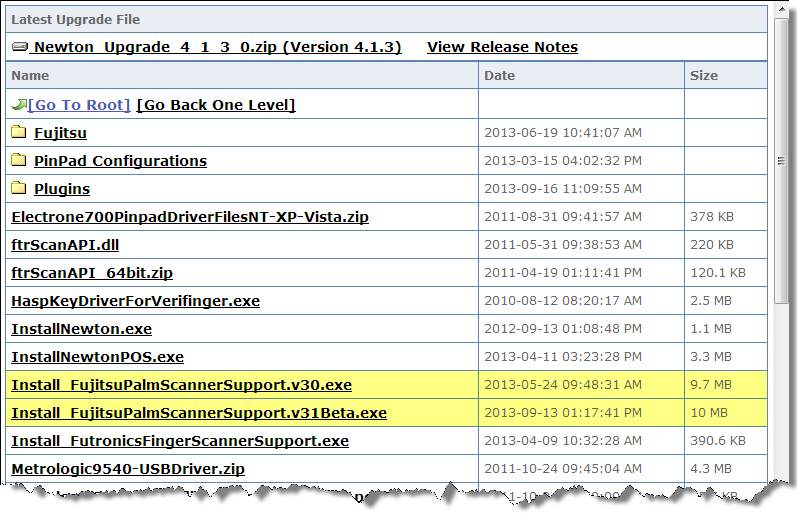
Step 1: Login to the MCS Customer Portal and select Software Downloads.
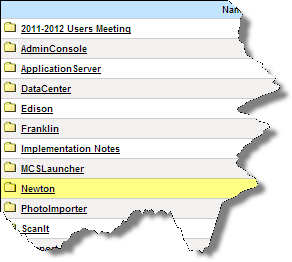
Step 2: Click on the Newton folder to open.
Step 3: Select the Install_FujitsuPalmScannerSupport.Exe file.
...
& Setup
| Info |
|---|
In order to install devices, you must have Administrator permissions. |
| Warning |
|---|
Do not plug in the device until instructed to do so. |
| Warning |
|---|
If you are installing a palm scanner on a Windows 8 or above operating system, you must have latest M3 sensor with V2 indicated on the bottom of the device. Although this has not been fully supported or endorsed by Fujitsu, we at MCS have recently learned that both the V30 and V31 drivers can be installed on Windows 8 operating systems. However, for full Fujitsu support, you should install the V31 driver only. Installing Multiple Drivers Windows 8 contains a driver verification enforcement that checks for a digital signature. A digital signature is not associated with the Fujitsu driver. In order to install both drivers, reboot Windows 8 under an advanced mode. This allows you to then disable the driver verification. |
| Note |
|---|
Drivers should be installed on the machine using the device. |
| Note |
|---|
|
- Login to the Customer Portal and select Download Software from the Common Linkssection.
- Locate and click on the Newton folder to open it.
Select the Install_FujitsuPalmScannerSupport.v30.exe file or the Install_FujitsuPalmScannerSupport.v31Beta.exe file.
Note It is important that you download the correct file.
- Everyone using the large black hand guides will select the .v30 file.
- If you are using child hand guides—small guides with red backing—or want to use two palm scanners on the same serving line, you will need to select the .v31Beta file.
Info You may choose individual .v30 or .v31Beta driver files for each school location; however, one school cannot have two different driver files installed in that school accessing both .v30 and .v31Beta files. You must choose one .v driver file for each school location.
Warning Warning: Currently, the .v31Beta file will onlyproperlysupport cafeterias that host a student population of 1,000 students or fewer. If you have a student population that is greater than 1,000 students, MCS recommends using the .v30 file and not utilizing duel scanners or child hand guides.
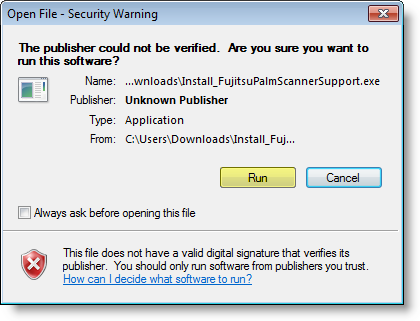
- Locate the file if it was downloaded. In the Open File-SecurityWarning window, choose Run at the prompt.
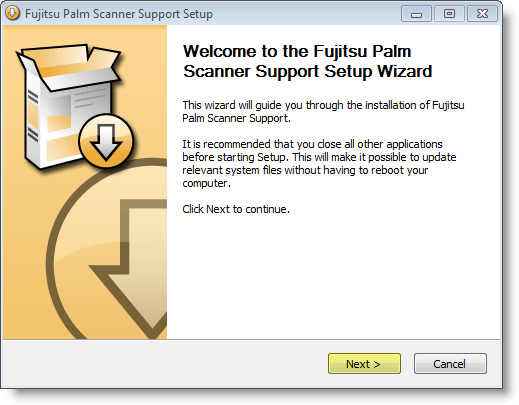
- It is recommended that all other applications are closed before proceeding.Click Next on the following Palm Scanner Support Wizard window.
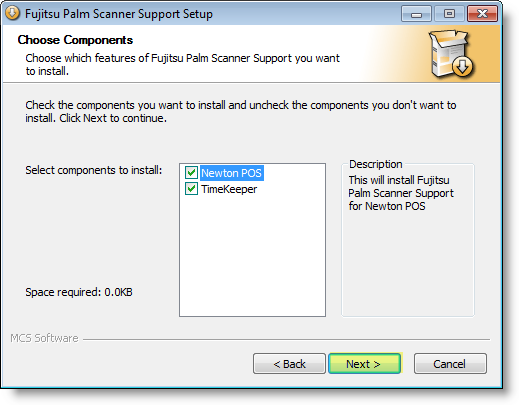
- Select the software components to install. Then, click Next.
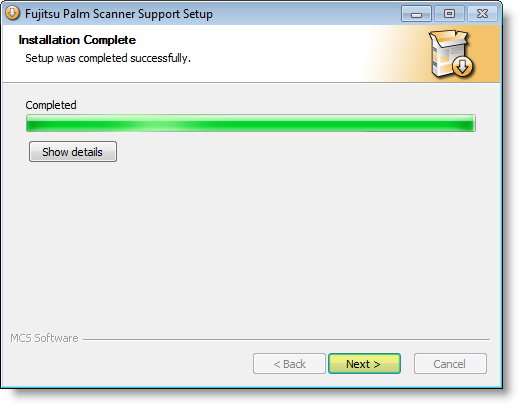
- Once the installation process is complete, click Next.
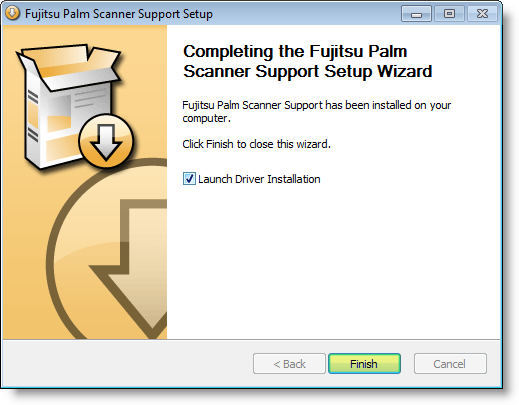
- When you reach the final window, select the Launch Driver Installation option and click Finish to begin the driver installation.
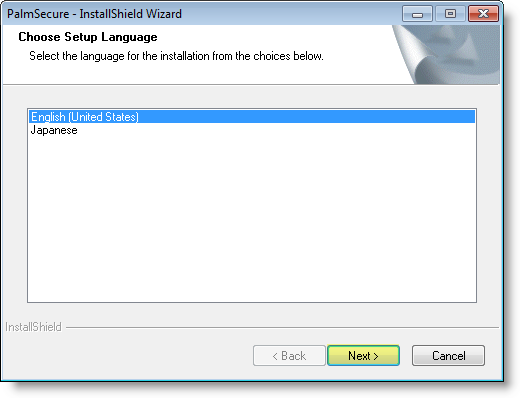
- Select a setup language. Then, click Next.
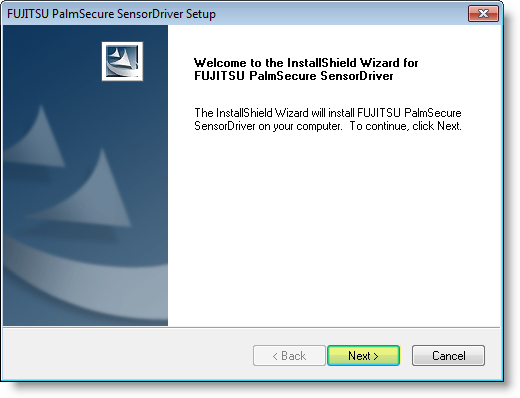
In the Fujitsu PalmScanner Sensor Driver Setup window, click Next to begin installing the sensor driver.
Note If you receive a Windows Logo Testing warning, select Continue Anyway.
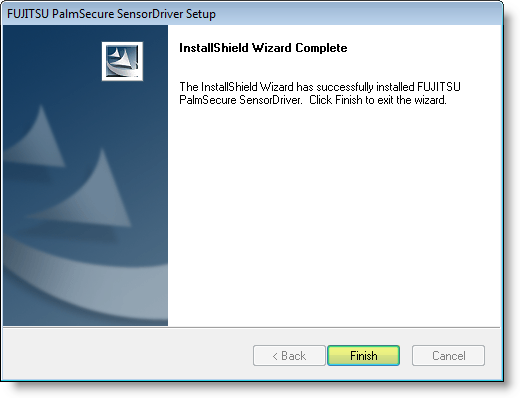
- Click Finish once the installation is complete.
- It is recommended that all other applications are closed before proceeding.Click Next on the following Palm Scanner Support Wizard window.
...
- Connect the palm scanning device.
...
- Establish Serving Line configurations
- Login to Newton.
- Locate and click on the Administration and Maintenance tab.
- Locate the Serving Line option in the Point-of-Sale Setup ribbon.
- Click on the Serving Line option.
...
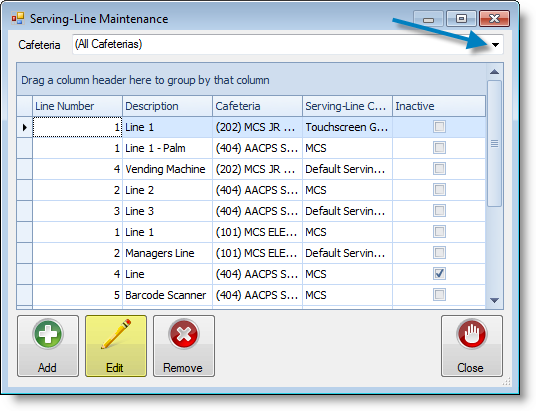
- In the Serving-Line Maintenance window, select a cafeteria line by clicking on a row or using the drop-down arrow and click the Edit button. If you use the drop-down arrow, be sure to select the proper serving line to install the device.
- Click on the Override Settings tab.
- Scroll down and locate the Devices section in the parameters.
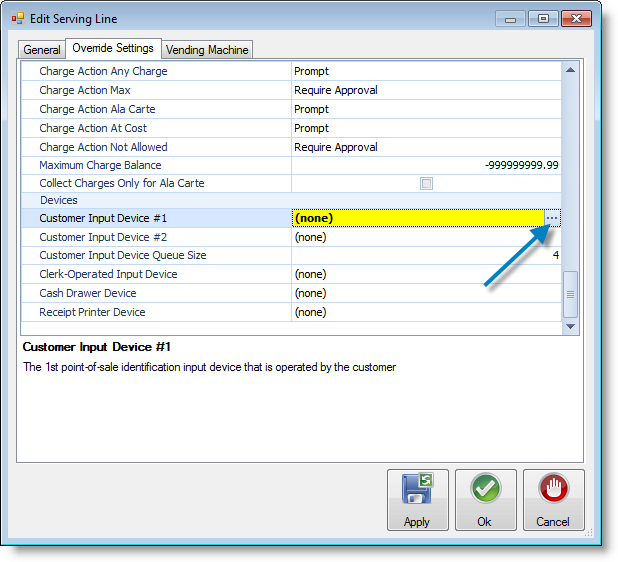
- Once you have located the Devices section click on Customer Input Device #1, then the
...
- ellipsis button.
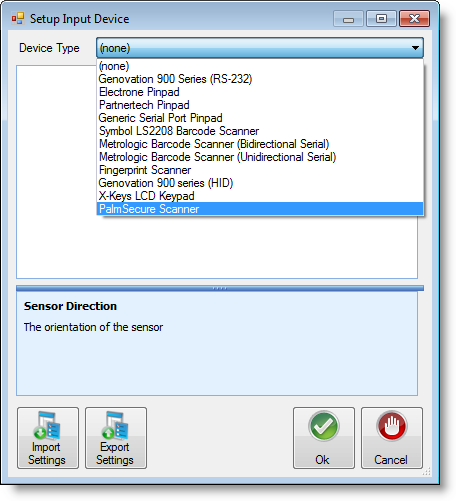
- Use the drop-down arrow to locate and select the PalmSecure Scanner.
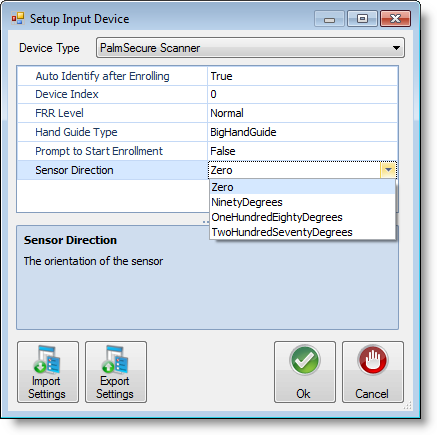
- Establish line setting by using the drop-down arrows.
- Auto Identify after Enrolling - Allows the line operator to continue with serving a meal as soon as a student's identification has been successfully established.
- Device Index - The device index typically remains at 0.
- FRR Level - False Rejection Rate Level establishes sensitivity when completing scanning.
- Hand Guide Type - By default, the guide type is set for the Big Hand Guide. If you are using the smaller hand guide or have younger students, the type should be changed to ChildHandGuide.
Prompt to Start Enrollment - Allows the line operator to choose when to begin the enrollment process.
Note MCS highly recommends setting the Prompt to Start Enrollment option to True for elementary schools. Younger children tend to be reluctant about placing their hand on the guide device. With the Prompt to Start Enrollment option is set to false and the nervousness of the younger children, the children have a tendency to slowly place their hand on the device. This results in only a partial capture of the child's palm.
- Sensor Direction - Chooses the direction of the sensor.
- Click Ok when you have completed adjusting the settings.
- Click Ok again to exit out of the Edit Serving Line window.
- Click Close in the Serving-Line Maintenance window.
- ellipsis button.
...
- Exit out of Newton. Then, log back in to Newton for all the device settings to take effect.
...
- Test the palm scanning device.
Test the palm scanning device by starting a new meal. Ensure Newton is recognizing meals served in the system.
| Anchor | ||||
|---|---|---|---|---|
|
| Panel | ||
|---|---|---|
| ||
Make sure the scanner has been completely configured for the line you are enrolling on before beginning the process. |
| Note |
|---|
For additional instruction on enrolling students using the palm scanner, you can view the Palm Scanner |
...
...
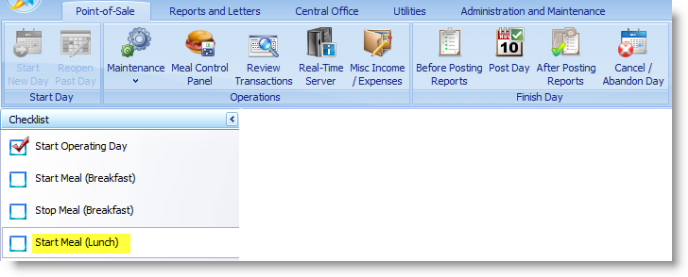
- Login to Newton (Back Office) from the main machine and start an operating day by clicking the Start Operating Day link on the checklist.
...
- Start a meal (either breakfast or lunch) by clicking Start Meal (Lunch) or Start Meal (Breakfast) link on the checklist.
...
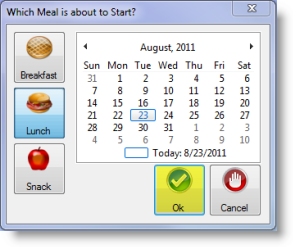
- Ensure the date is correct on the Meal Calendar screen and click Ok.
...
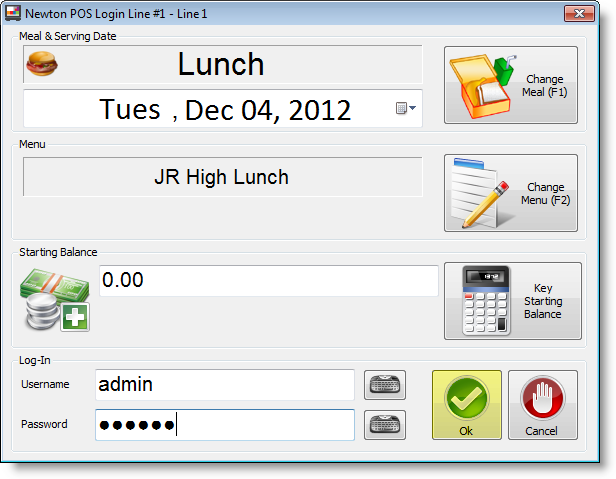
On the POS serving line with the Palm Scanner, double click on the Newton POS icon to open up to the login screen.
Note
...
If you will be enrolling students on the main machine, locate the Meal Control Panel and click on Main Machine to run Newton POS.
| Column | ||
|---|---|---|
| ||
|
| Column | ||
|---|---|---|
| ||
|
- Login to Newton POS by entering the username and password given to you by the system administrator, then click Ok.
...
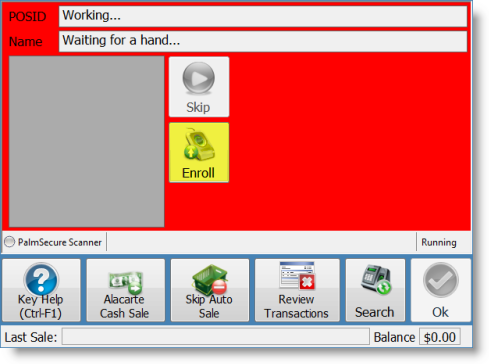
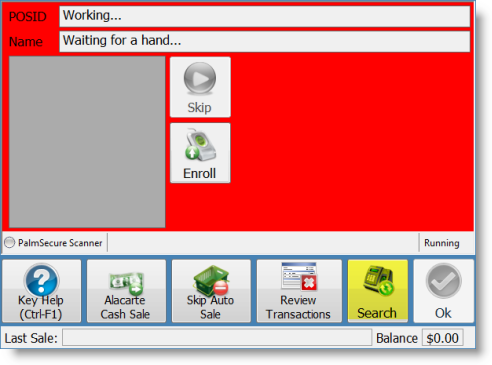
- In the Customer Input Device window, begin enrolling students by clicking the Enroll button.
...
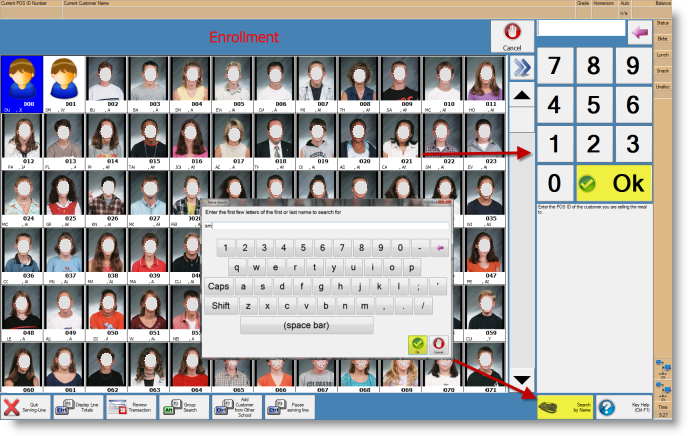
- The Student Selection screen will appear with the word Enrollment
...
- blinking red at the top of the screen.
- If using a standard keyboard, begin typing either the name or POS ID number to search for the student being enrolled.
- If the machine is a touch screen use the onscreen number pad to search by POS ID number or onscreen keyboard to search by student name. (The onscreen keyboard will appear by clicking the Search By Name button.
...
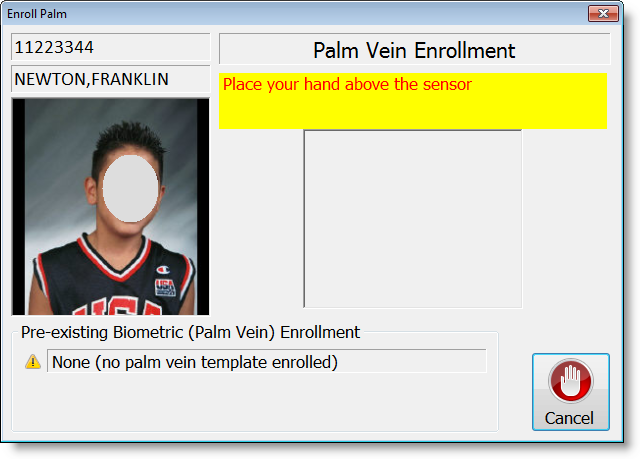
- Once you have selected the student, the Enroll Palm screen will appear. The onscreen instructions will guide you through the enrollment process.
...
...
IMPORTANT! It is recommended that all students are enrolled using the right hand to maintain consistency. This helps the user always know which hand was used for enrollment in case the student forgets.
...
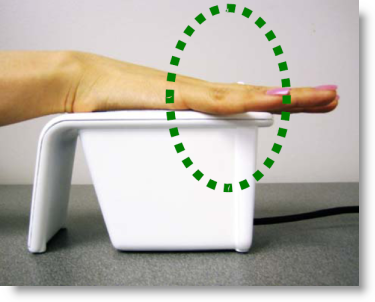
Place the student's hand, fingers spread open, all the way to the top of the palm guide so that the middle finger is in between the two finger dividers at the top of the guard. The webbing between the index and middle finger and the middle, right ring-finger should be touching the two finger dividers with the palm flat down. The object is to let as little light in as possible, so the infrared scanner can read the veins.
...
...
Panel titleColor #ffffff titleBGColor #5084ee title Best Practices IMPORTANT! It is recommended that all students are enrolled using the right hand to maintain consistency. This helps the user always know which hand was used for enrollment in case the student forgets.
Panel titleColor #ffffff titleBGColor #228B22 title Correct Hand Placement Panel titleColor #ffffff titleBGColor #FF1919 title Incorrect Hand Placement Enroll the student.
Info The enrollment process requires two (2) good scans in order to make a positive match.
The student will place their hand on the scanner and follow the onscreen instructions. The first scan will direct you to place the students hand on the scanner, hold it still, and then move the hand away. The second scan will require the student to place their hand back on the scanner and hold still. The student screen will turn green once both good scans are accepted. The following screen shots will show the entire process:
...
...
...
...
When the enrollment process is successful the system will automatically go back to the Customer Input Device
...
screen. The background color of the screen will now be green acknowledging an identified student. Click the Skip button to continue enrolling more students or enter to continue with normal serving line processes.
Note
...
...
To view biometric enrollment information, select the student and click the Enroll button. Pre-existing biometric data details are located at the bottom of the window.
...
- Biometric device
- Date of capture
- User who captured data
- Location of capture
...
| Column | ||
|---|---|---|
| ||
|
...
...
...
- The Customer Input Device screen will again turn red and the Enroll button will now be accessible. Click the Enroll button to continue the enrollment process.
...
- When the enrollment process is complete, you can click the Search button on the Customer Input Device screen to return to the Student Selection screen.
After you have finished with line servings, click the Quit Serving Line button to exit Newton POS.
Then, click the Exit Point-Of-Sale button.
Be sure to return to the main machine and stop the meal and post transactions for the day.
...


