| Panel |
|---|
|
| Section | |||||||||||||||
|---|---|---|---|---|---|---|---|---|---|---|---|---|---|---|---|
|
...
Installation & Setup
| Info |
|---|
Ensure you have the most recent version of Newton POS by running upgrades in AdminConsole. |
Step 1 : Download and Install the Driver
...
Step 2: It may be necessary to complete this step if the driver does not work properly. Performing this step will allow NewtonPOS to re-upgrade itself and trigger the post-deploy.
- While holding down the Control (Ctrl) key on the keyboard, use the mouse to click on each file in the folder.
...
- Download the InstallNewtonPOS.exe file from the MCS Software Downloads website and run the installation process.
Step 3: Login to Newton and connect the fingerprint scanning device.
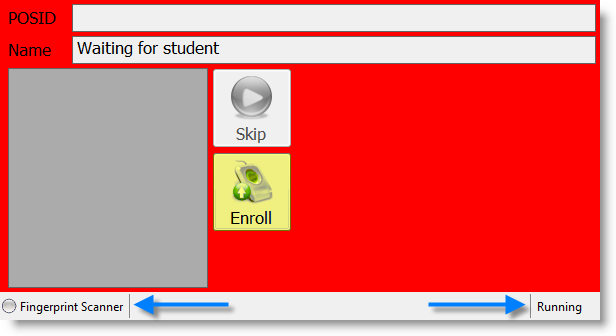
Step 4: Establish the biometric engine
...
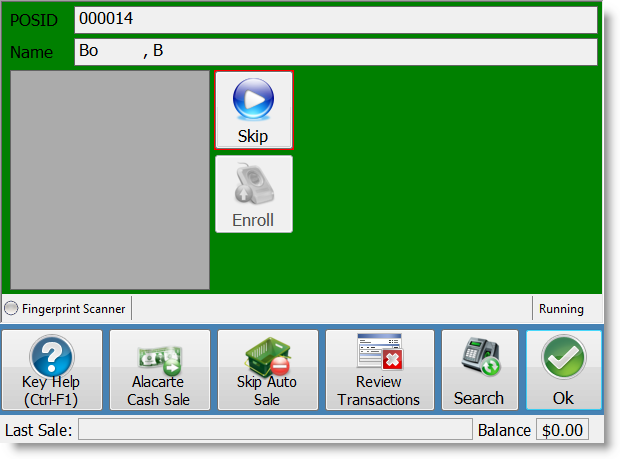
- Click Enroll to begin fingerprint enrollment.
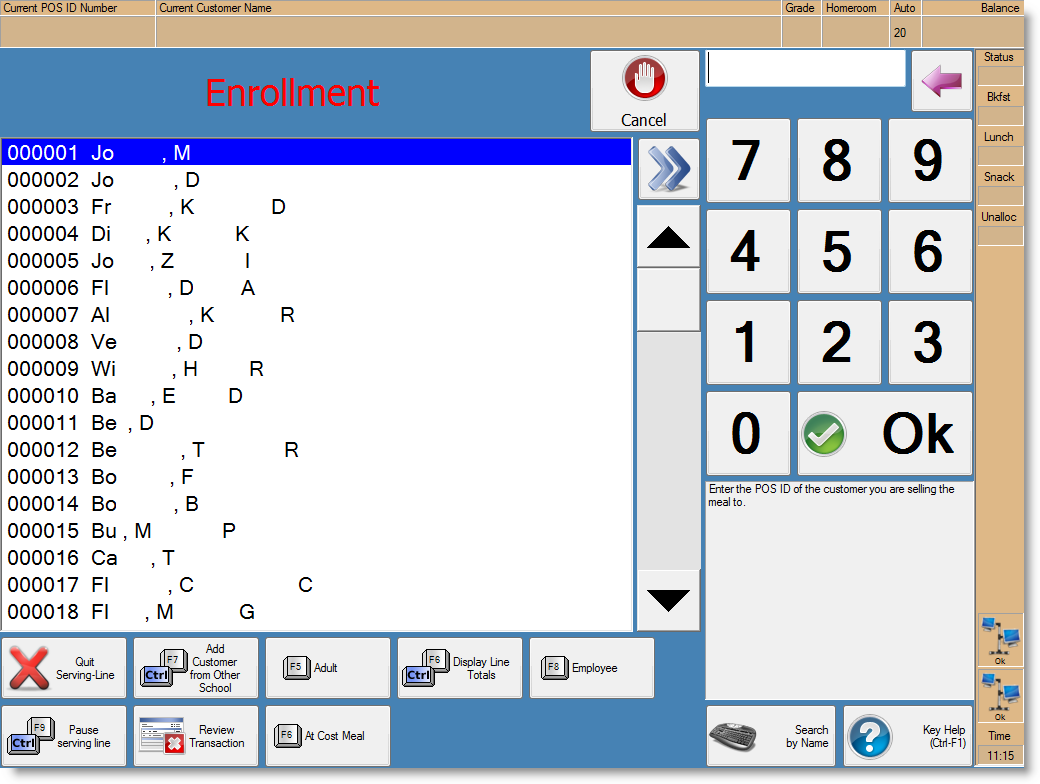
Step 5: Select the student by entering the student number or by selecting the student from the list.
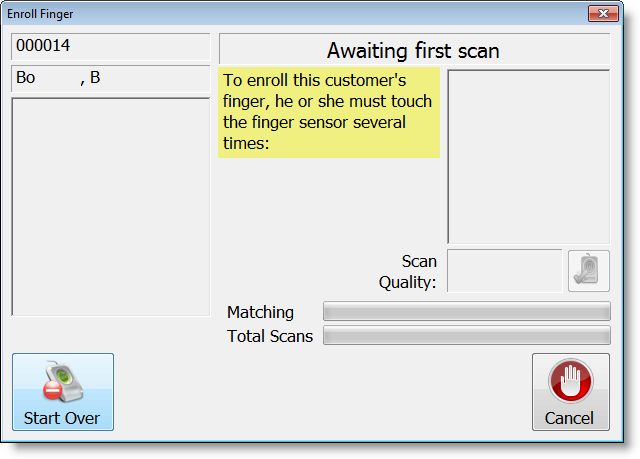
Step 6: Several scans will be necessary to ensure a student's identity.
- Have the student place his/her finger on the scanning device.
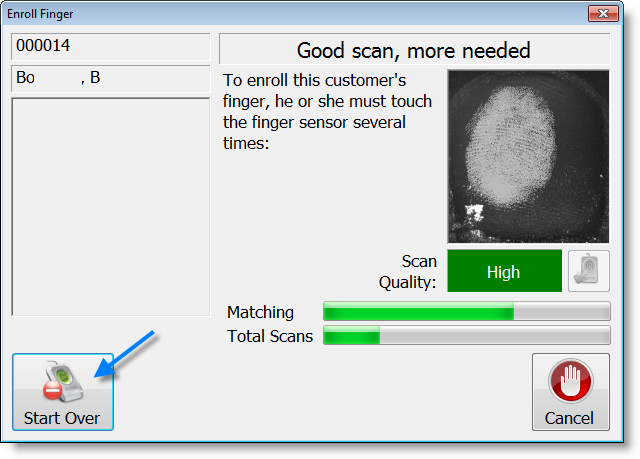
- As the fingerprint is captured, the status bar progresses until there are enough good scans to register the student.
- If a student switching fingers in the middle of scanning. click the Start Over button.
Once a student has been successfully enrolled, they must use the same finger for every meal. The scanner should recognize the print and pull up the student.
Continue the process by normal serving procedures.


