| Section | |||||||||||||||
|---|---|---|---|---|---|---|---|---|---|---|---|---|---|---|---|
|
...
- Plug the USB into the computer.
- Establish Serving Line configurations
- Login to Newton.
- Locate and click on the Administration and Maintenance tab.
- Locate the Serving Line option in the Point-of-Sale Setup ribbon.
- Select either Serving Lines or Serving Line Configs depending on if your District uses line or a particular template. If you are unsure, check with your point of contact in the District.
Configure the Device in Newton
Note Step 3 includes instructions for both Serving Line and Serving Line Configs. Choose the correct section your District utilizes for setup.
- In the Serving-Line Maintenance window, select a cafeteria line by clicking on a row or using the drop-down arrow and click the Edit button. If you use the drop-down arrow, be sure to select the proper serving line to install the device.
- Click on the Override Settings tab.
- Scroll down and locate the Devices section in the parameters.
- Once you have located the Devices section click on Customer Input Device #1, then the ellipsis button.
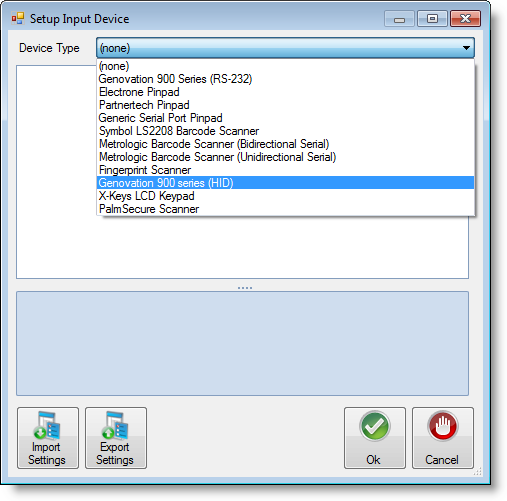
- Use the drop-down arrow to locate and select Genovation 900 series (HID) Series.
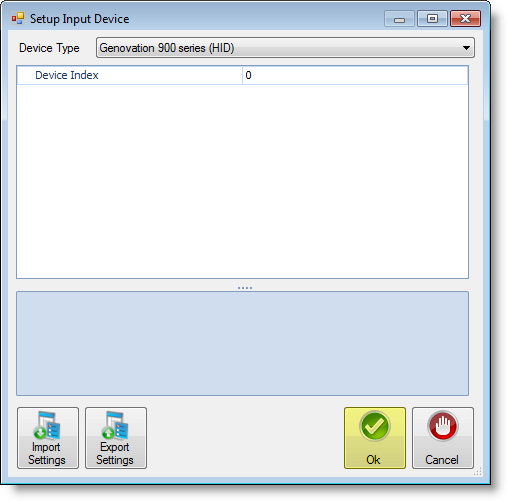
- Establish line settings - Device Index - The device index typically remains at 0.
- Click Ok when you have completed adjusting the settings.
- Click Ok again to exit out of the Edit Serving Line window.
- Click Close in the Serving-Line Maintenance window.
- In the Serving-Line Maintenance window, select a cafeteria line by clicking on a row or using the drop-down arrow and click the Edit button. If you use the drop-down arrow, be sure to select the proper serving line to install the device.
- Test the Pinpad device.
...


