The Newton POS Line Daily Operation Guide assists Line Operators through the daily tasks required for successful meal sales and operations. During daily operations, a serving day and meal is selected, meals are served either through the search function or through the use of peripheral devices.
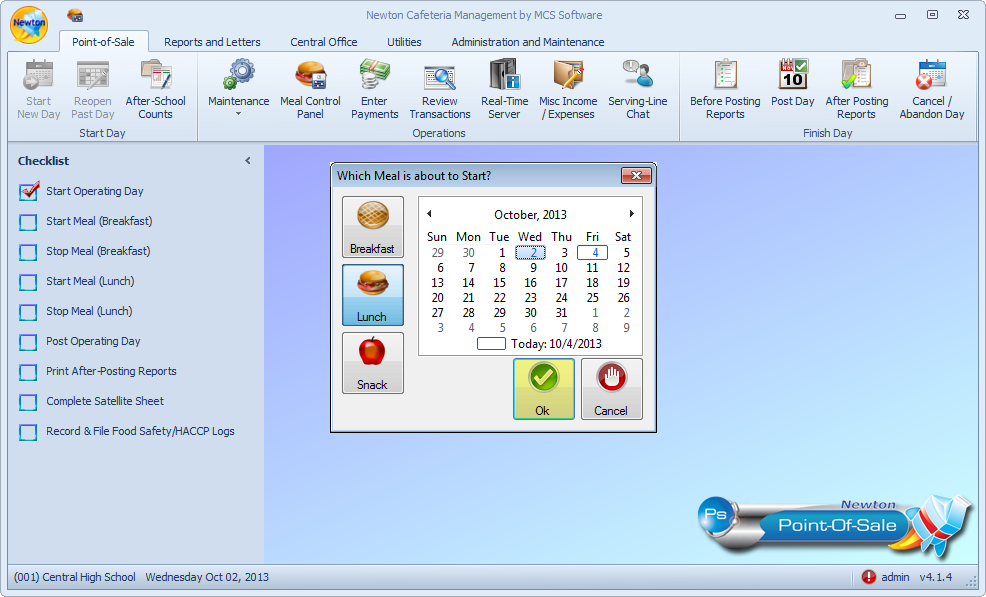
In order to begin serving meals, the meal must first be started from the main machine.
Step 1: Locate and click on the Newton POS icon, typically found on your desktop.
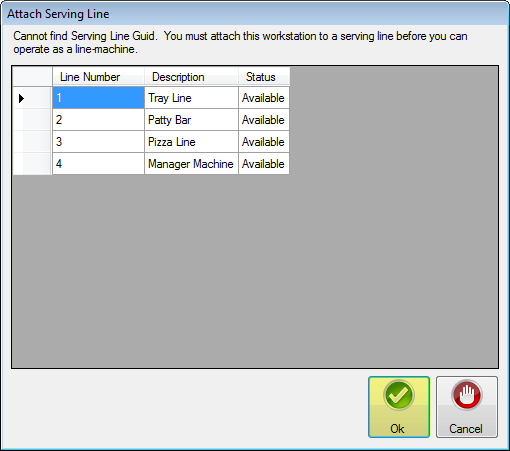
If this is the first time Newton POS is accessed, the serving line may need to be attached.
Select the appropriate serving line. Then, click Ok.
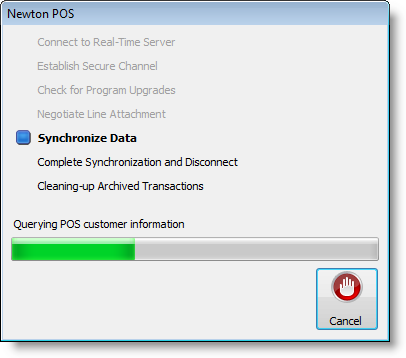
You will see a series of processes run as serving line data is established for the meal.
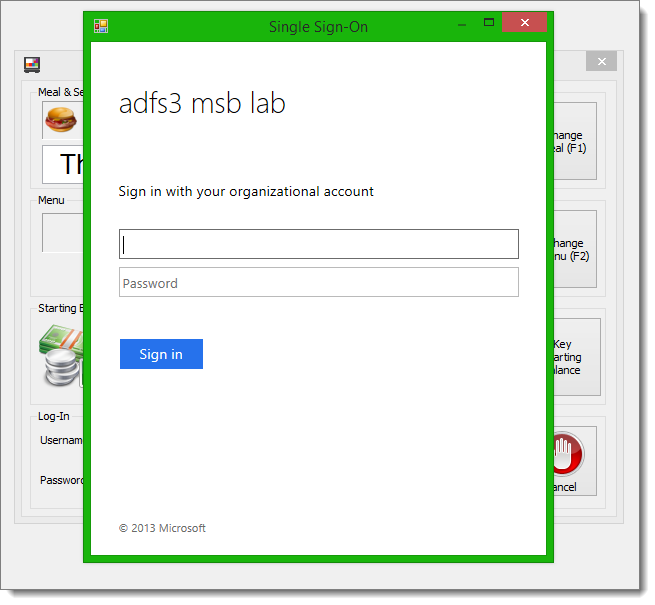
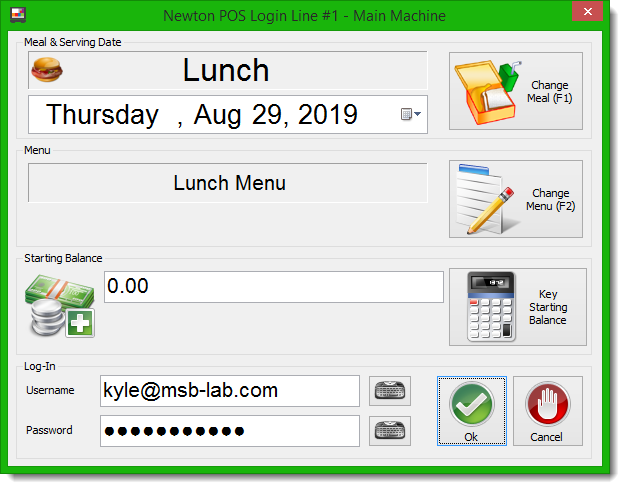
Step 2: Complete necessary information to login to the program. Then, click Ok.
- Meal & Serving Date - The meal and serving date are displayed.
- Change Meal (F1) - If the meal is incorrect, click the Change Meal (F1) button or press F1 on the keyboard to toggle through the meal types.
- Date - If the serving date is incorrect, click the calendar icon to select a different date.
- Menu - The menu (establsihed by the Central Office, Site Supervisor, or Back Office Operator) is displayed.
- Change Menu (F2) - To change the menu, click the Change Menu (F2) button or press F2 on the keyboard.
- Starting Balance - Displays the starting balance for your register. You may click in the cell and enter the balance.
- Key Starting Balance - To change the starting balance, you may click the Key Starting Balance button to access the Starting Balance window. When you are done, click Ok.
- Login - In order to login to Newton POS, you must enter your user information.
- Username - Enter the username assigned to you.
- Password - Enter the password assigned to you or that you established.
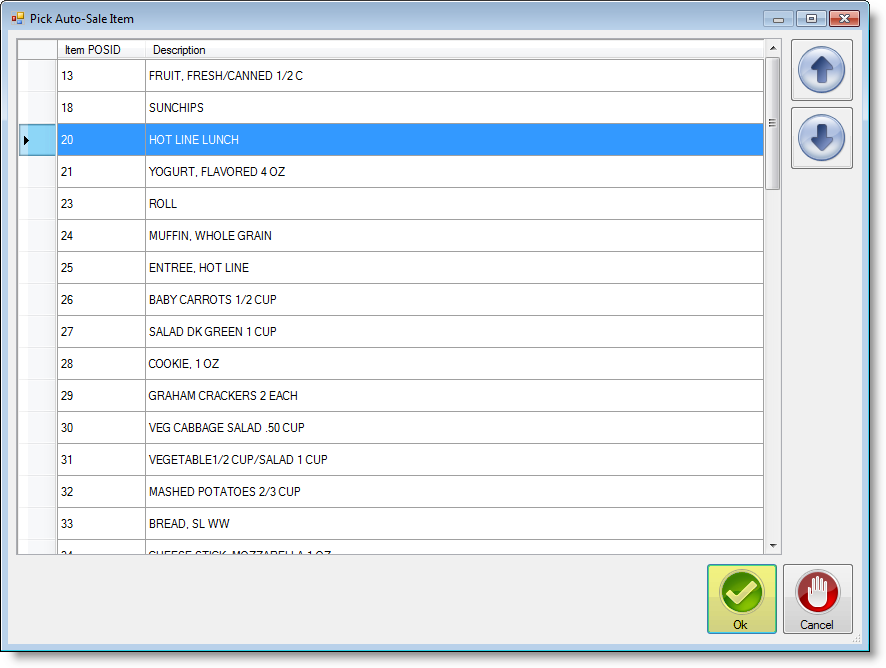
Once you have logged in, you may be prompted by the Pick Auto-Sale Item window. Select the correct item from the menu. Then, click Ok.
