...
| Info |
|---|
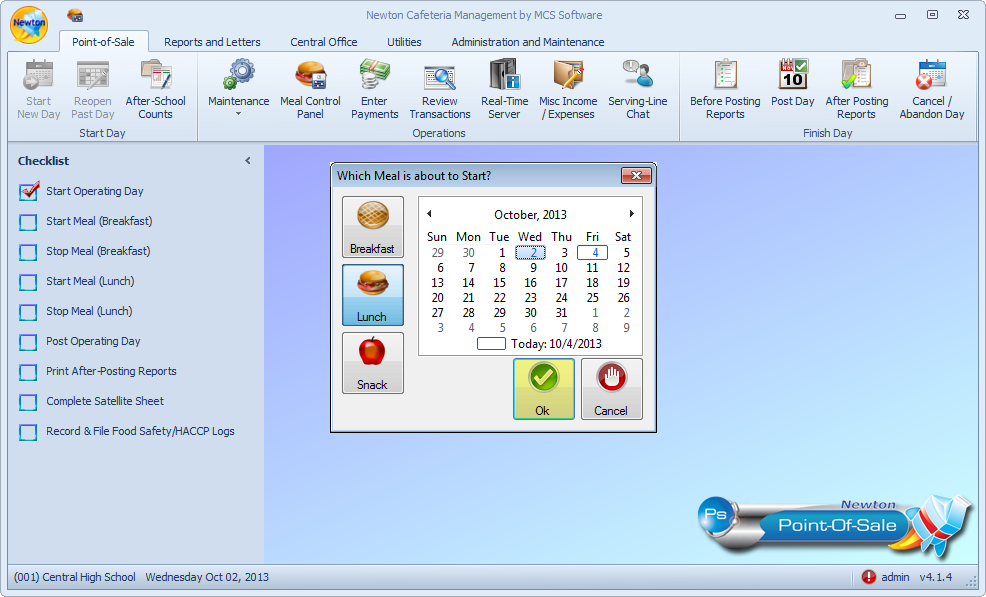
In order to begin serving meals, the meal must first be started from the main machine. |
Step 1: Locate and click on the Newton POS icon, typically found on your desktop.
...
| Note |
|---|
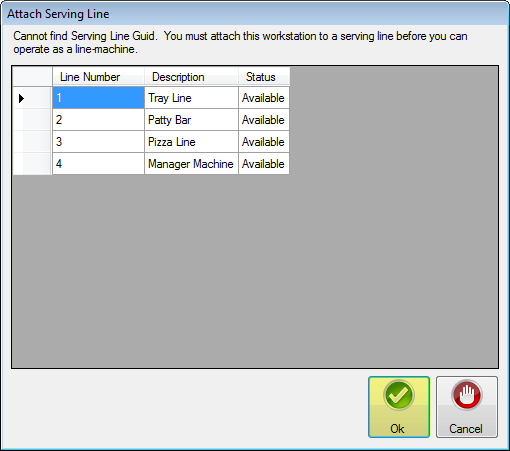
If this is the first time Newton POS is accessed, the serving line may need to be attached. Select the appropriate serving line. Then, click Ok. |
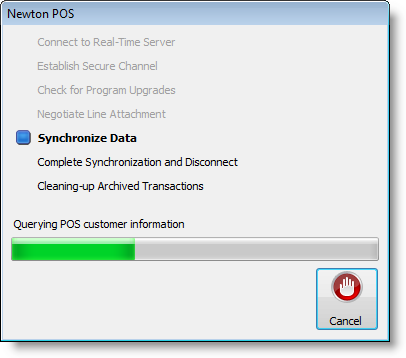
You will see a series of processes run as serving line data is established for the meal.
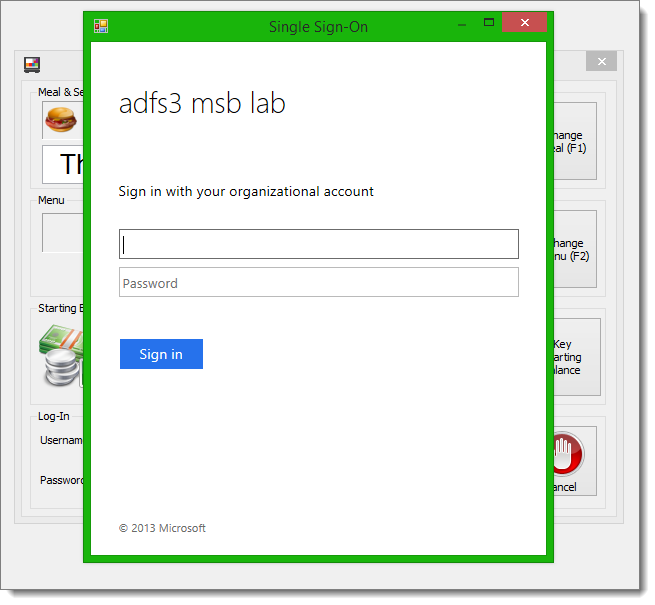
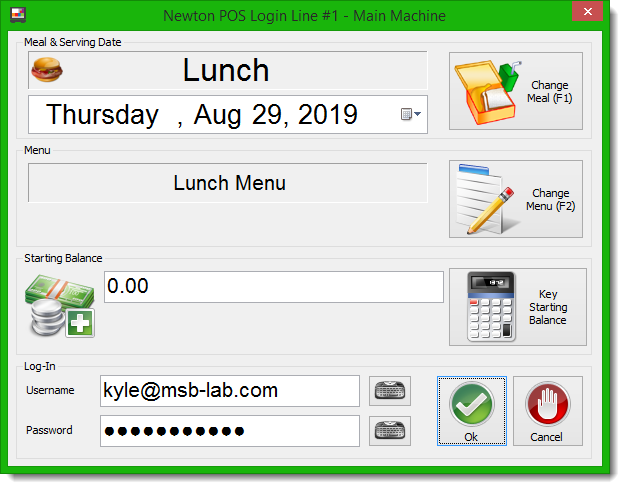
Step 2: Login to the system.
- Meal & Serving Date - The meal and serving date are displayed.
- Change Meal (F1) - If the meal is incorrect, click the Change
- the Change Meal (F1) button or press F1
- press F1 on the keyboard to toggle through the meal types.
- Date - If the serving date is incorrect, click the calendar icon to select a different date.
- Menu - The menu (establsihed by the Central Office, Site Supervisor, or Back Office Operator) is displayed.
- Change Menu (F2) - To change the menu, click the Change Menu (F2) button or press F2 on the keyboard.
- Starting Balance - Displays the starting balance for your register. You may click in the cell and enter the balance.
- Key Starting Balance - To change the starting balance, you may click the Key Starting Balance button to access the Starting Balance windowBalance window. When you are done, click Okclick Ok.
| Expand | ||
|---|---|---|
| ||
- Login - In order to login to Newton POS, you must enter your user information.
- Username - Enter the username assigned to you.
- Password - Enter the password assigned to you or that you established.
